Satisfactory

1545 readers
44 users here now

The unofficial Lemmy community for Satisfactory, the factory-building and exploration game.

Useful Links:

Looking for Group?

@MentalEdge@sopuli.xyz started a dedicated server and welcomes Fediverse users, find out more by DMing them or joining this steam chat

Rules

  1. No bigotry - including racism, sexism, ableism, homophobia, transphobia, or xenophobia.
  2. Be respectful, especially when disagreeing. Everyone should feel welcome here.
  3. No NSFW content
  4. No ads/spamming

founded 1 year ago
MODERATORS
1


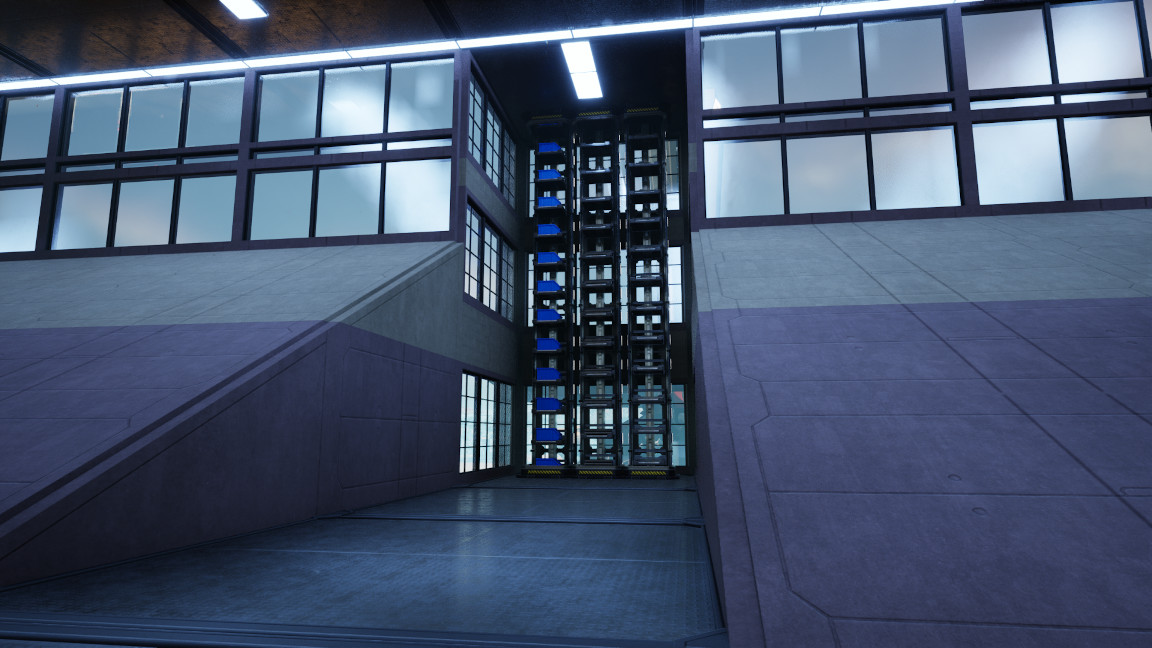
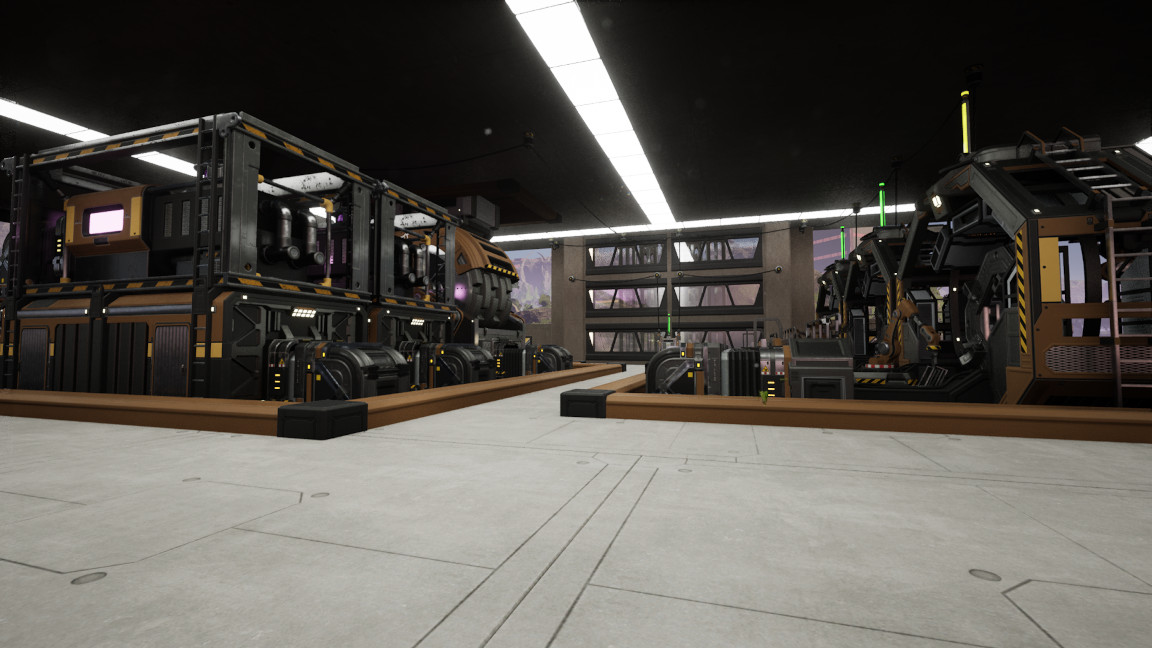
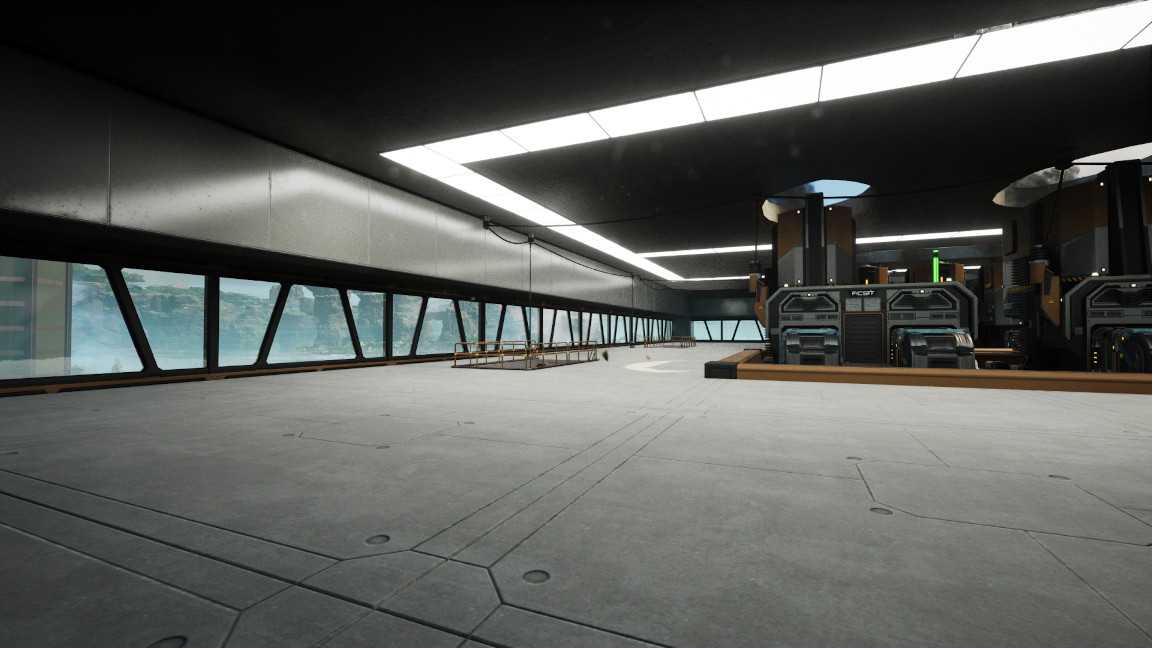
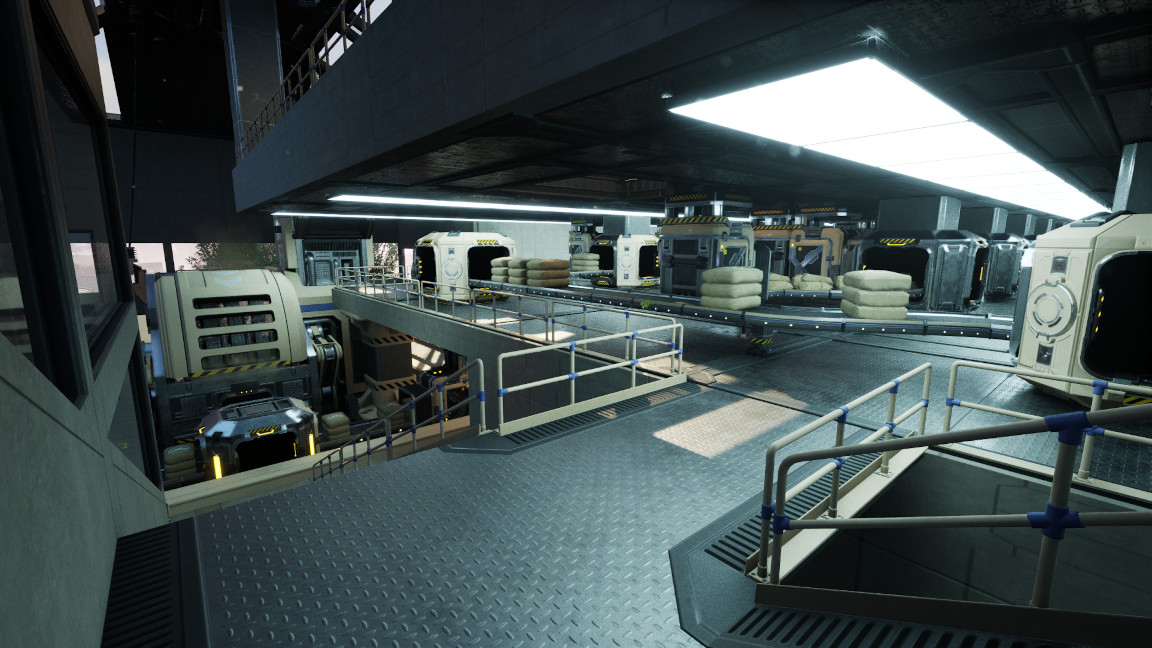
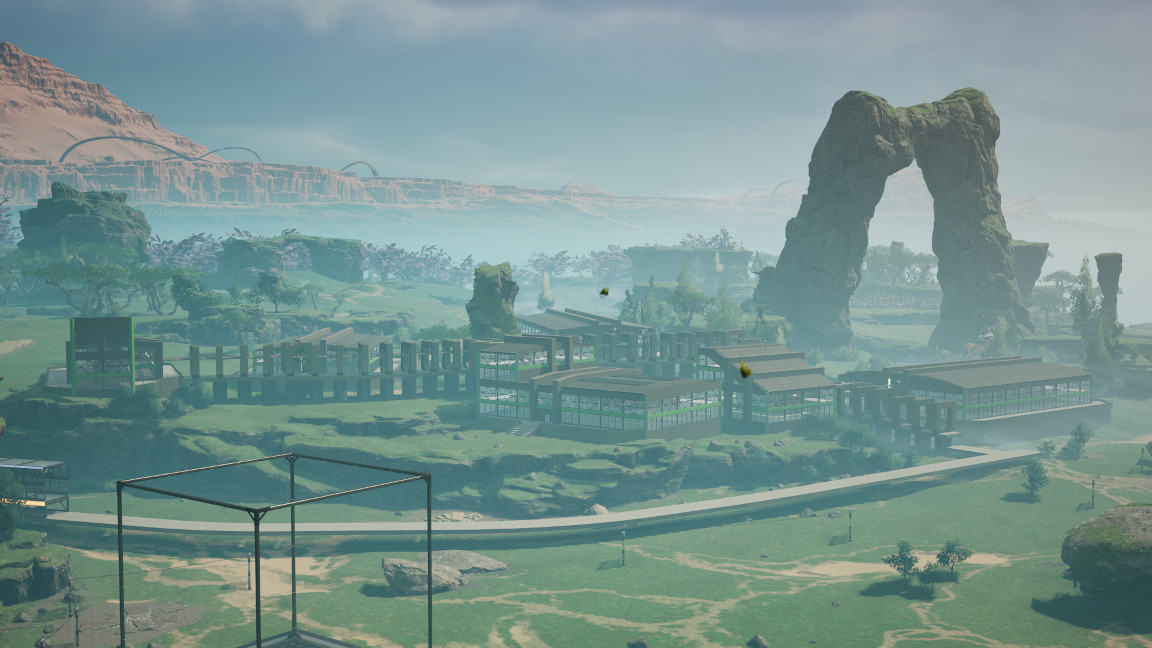
My wife got the Ironworks factory juuuuuuust about finished, today.

Only the ground floor needs finished up.

Meanwhile, I made (you guessed it) more progress on the steel belt lines.

2


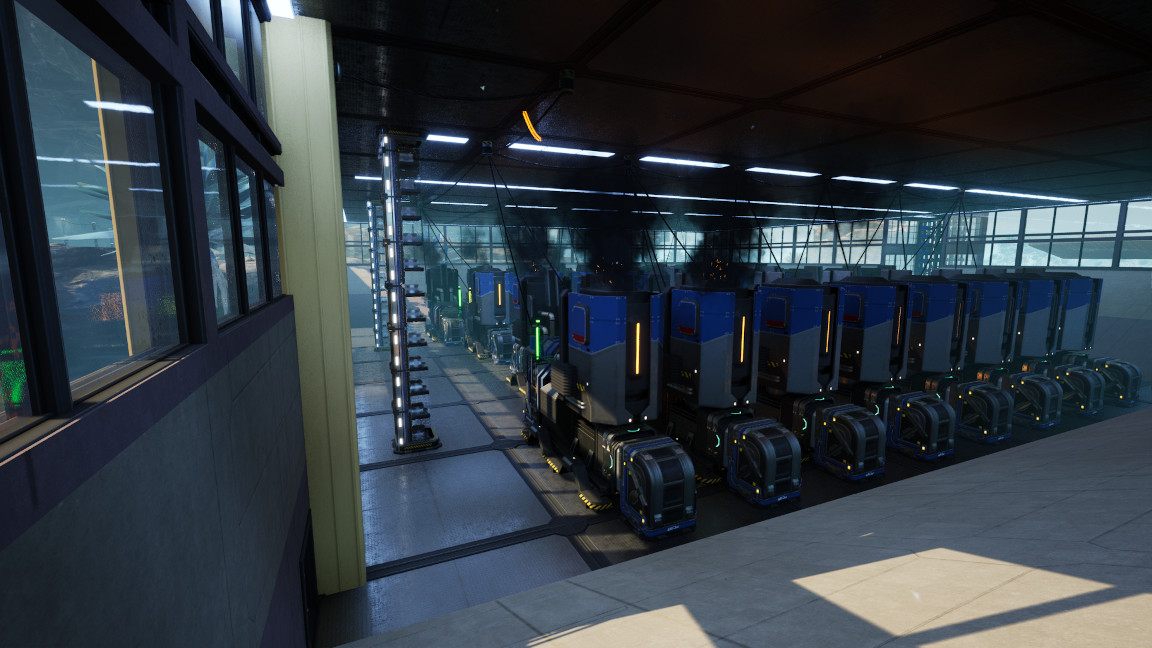
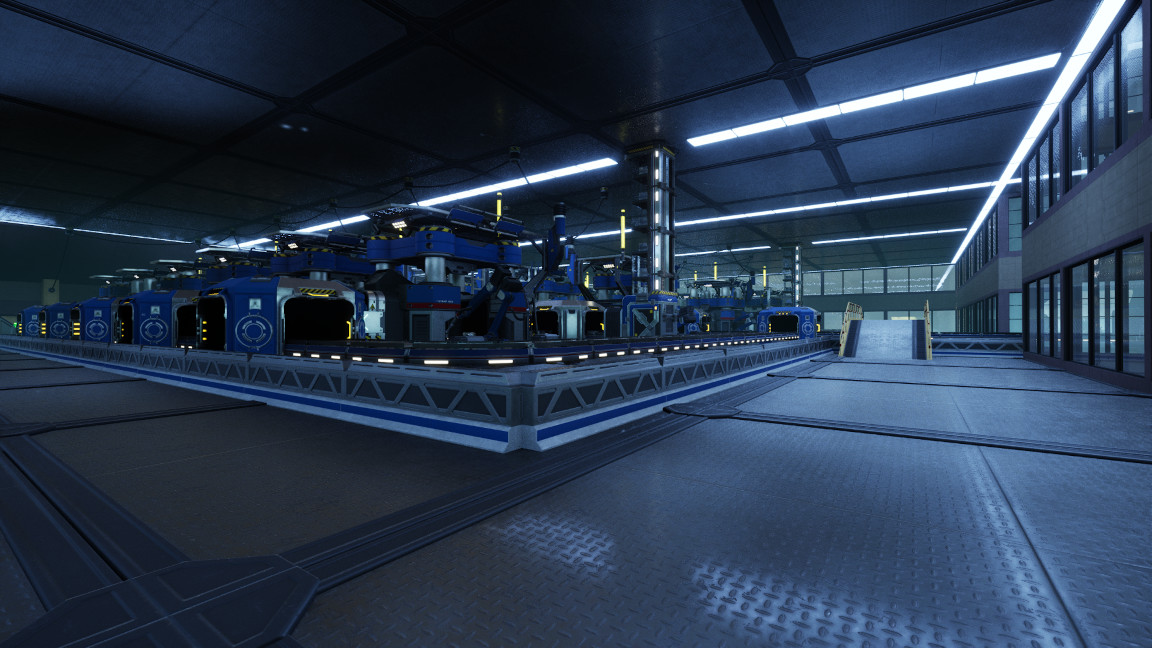
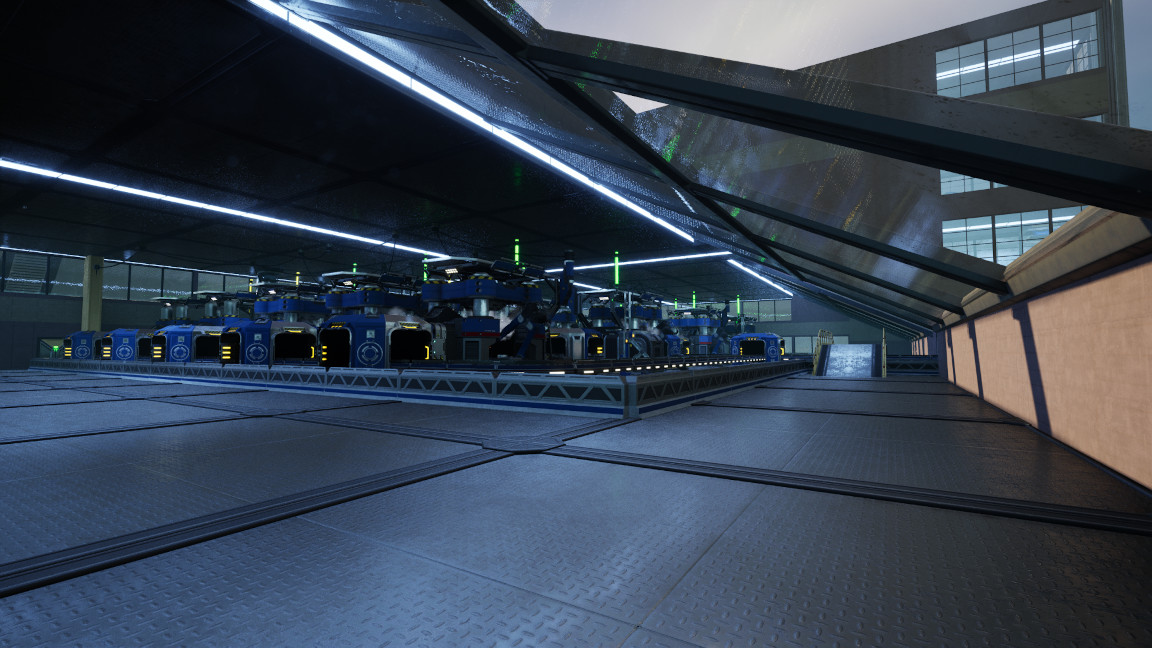
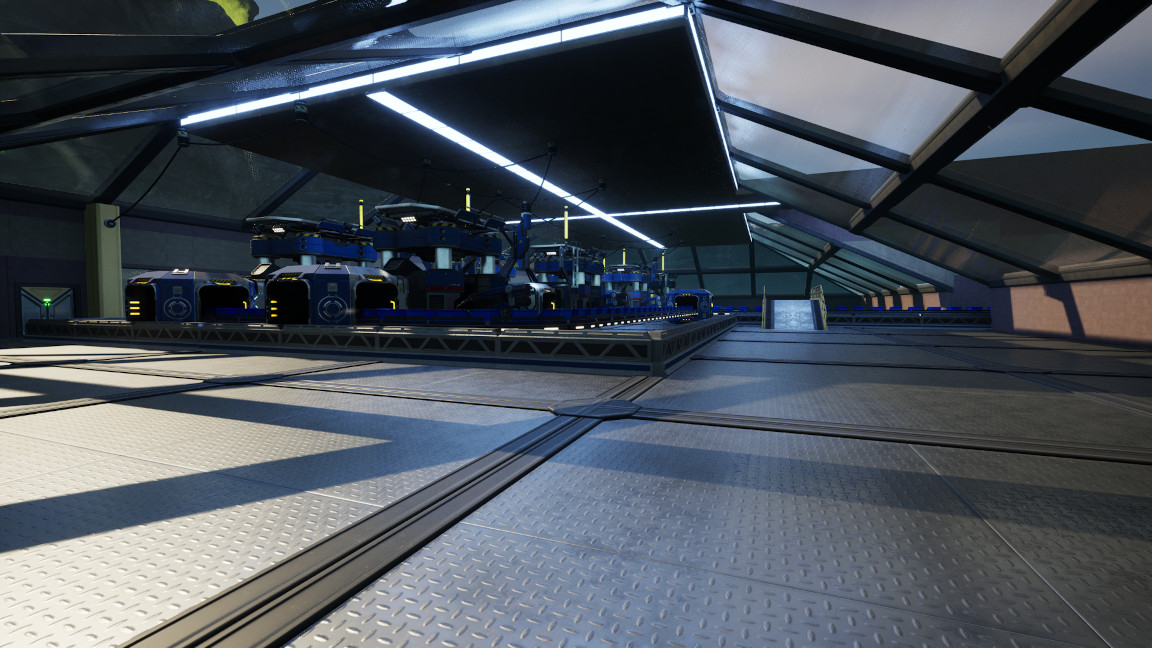
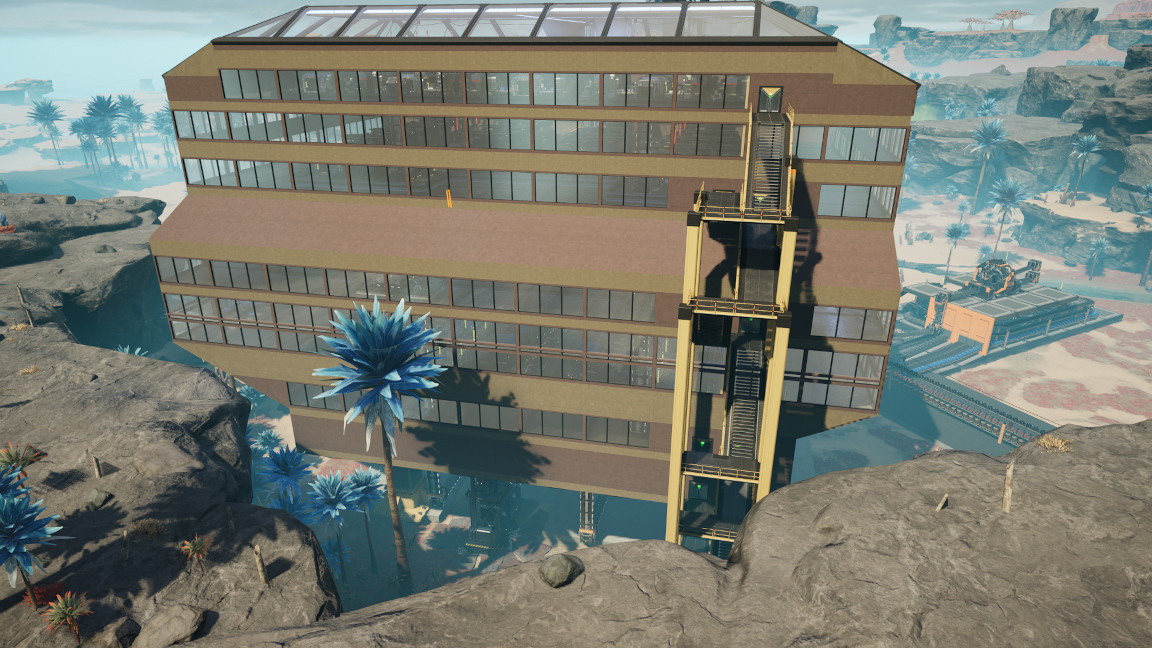
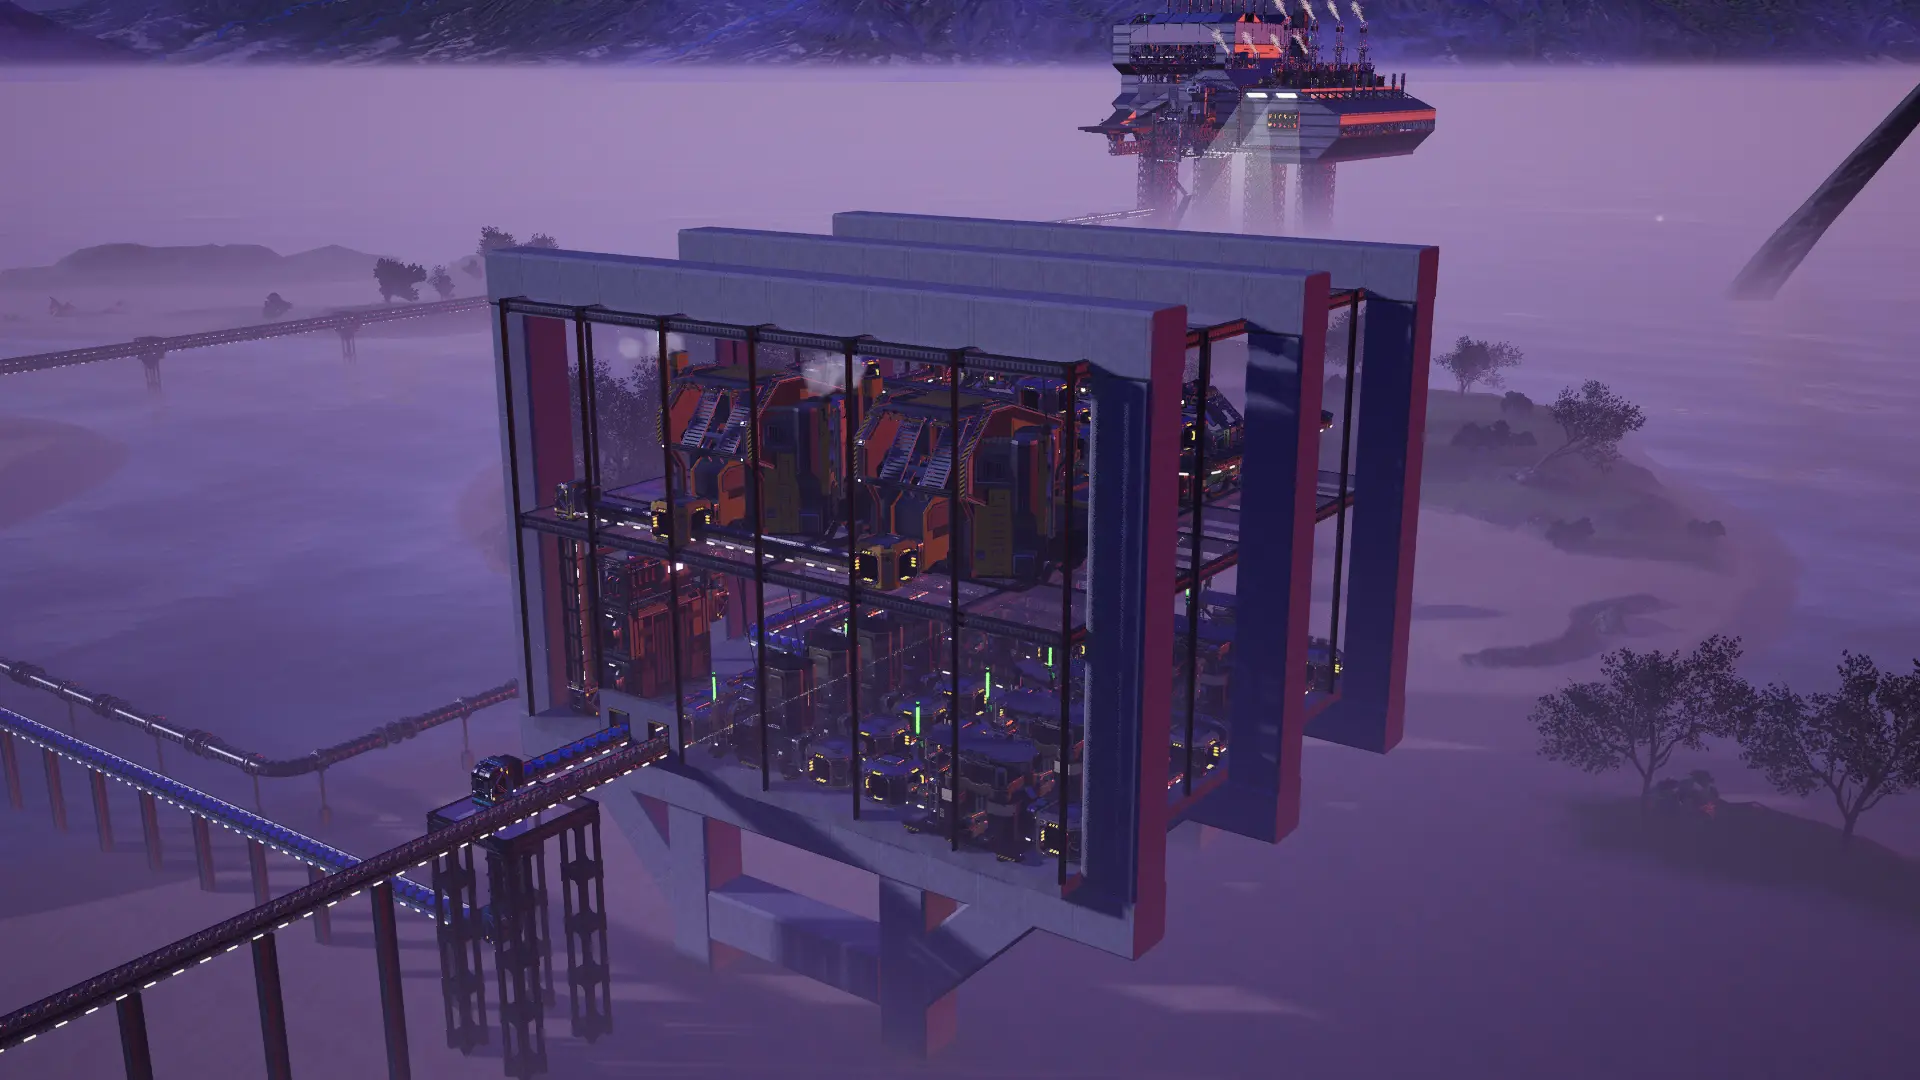
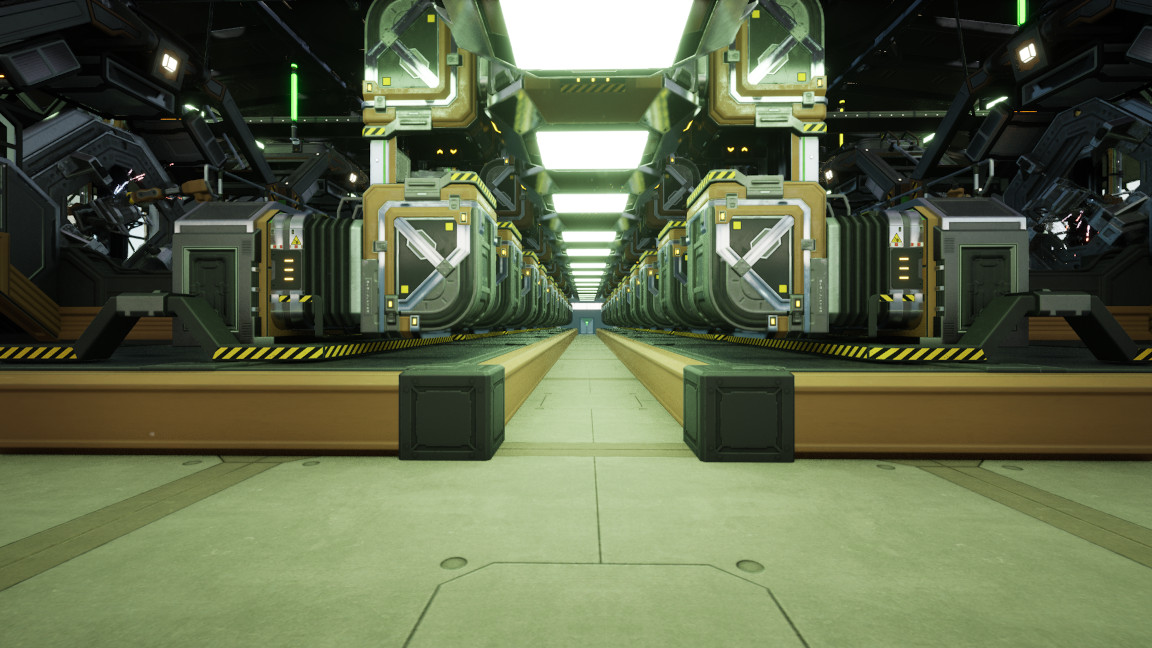
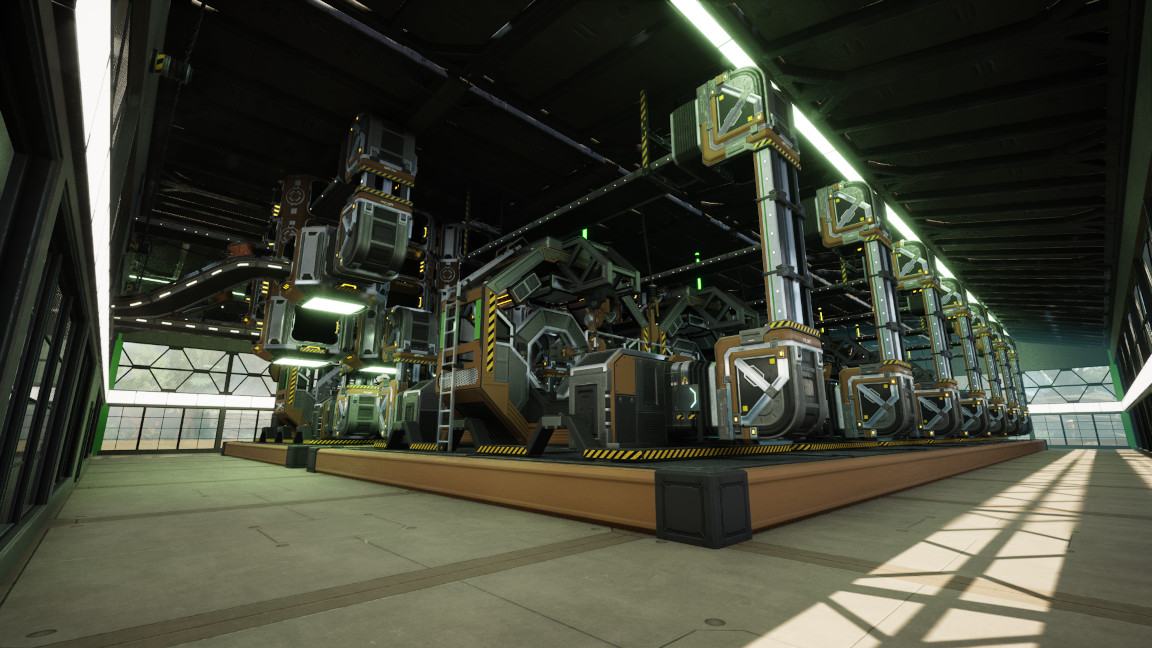
At least I tried to be on this heavy frame factory, makes 10 per minute and is the largest factory I've made.

3


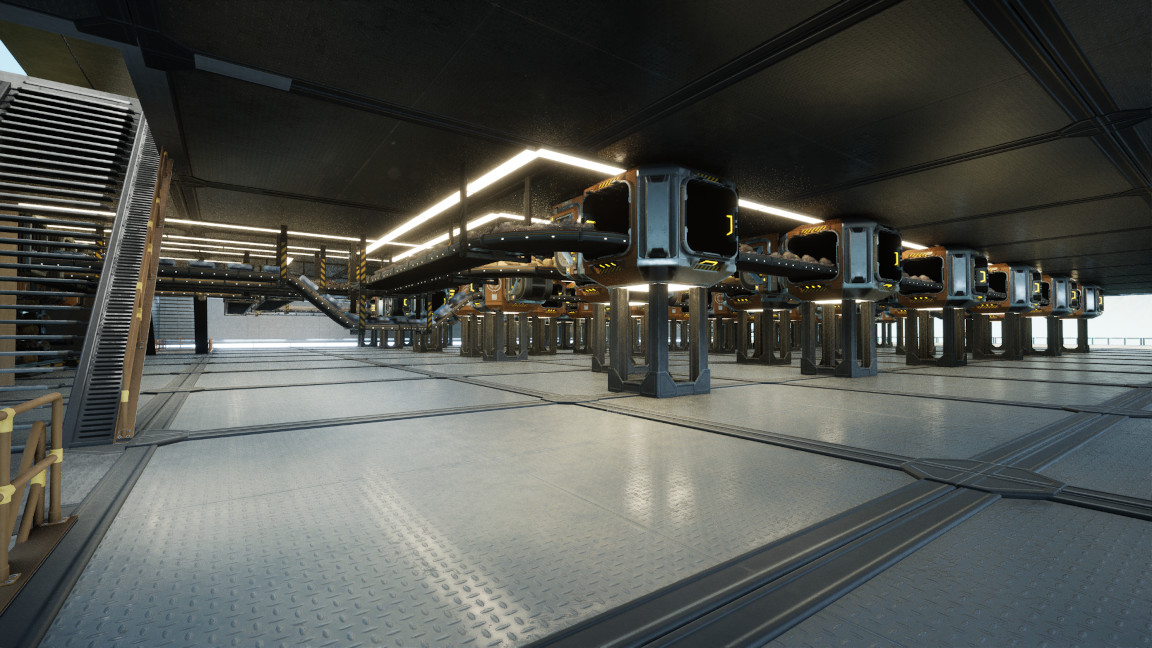
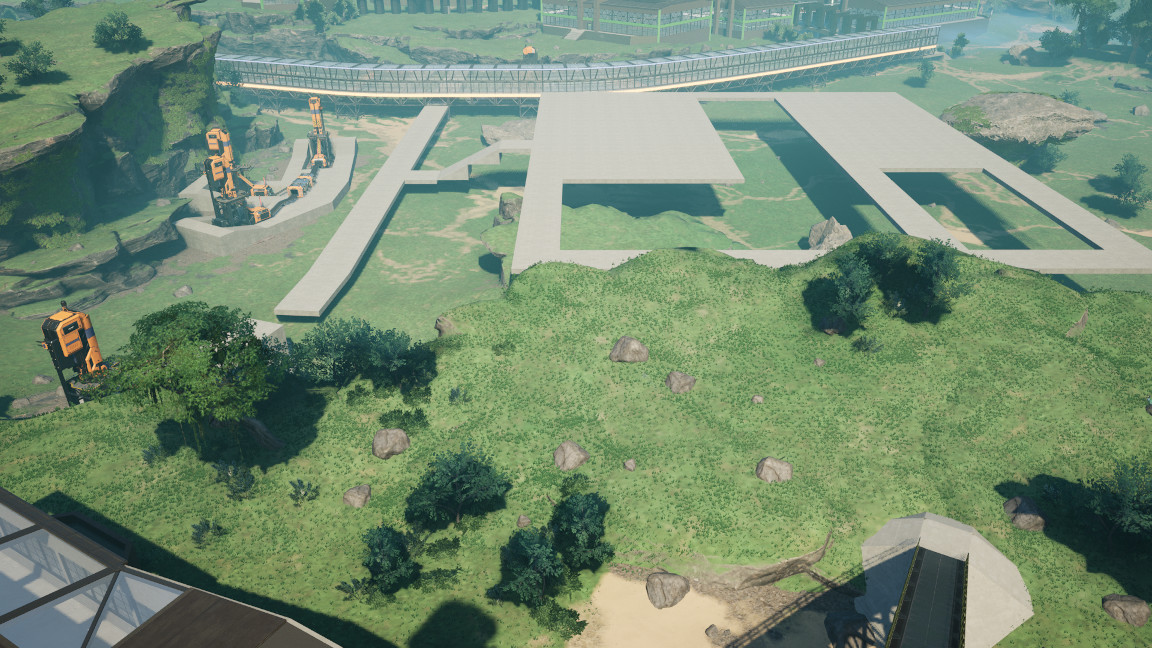
Steel backlog is built up, so I swapped back to ripping all that down, and laid out a rough guess of what I think the footprint of this factory will be. I'm gonna try and go for one large building, made up of one central factory floor, and a bunch of oblong wings shooting off of it, where all the production happens.

I then decided I need to have something of a "mini" logistics floor, to route all the ores. I want to do all the actual logistics up above head level again, but I also realized I don't want to mix all the ores into that, since they're spread out all over the footprint, but they're all going to be processed in the "Ingots" wing. They'll just run with no crossovers, merging or splitting, within a little 2m access layer.

Aaaaaand, that's pretty much all I got done today.

4


My actual plan for today was to start rebuilding Steelworks.

But given how ubiquitous steel is as a building material, I wanted to build up an extra container worth of backlog, before tearing the existing factory down, so I emptied all these containers and figured I'd get a head start on Frameworks, I.E. Modular Frames, and Heavy Modular Frames.

Problem is, I don't actually HAVE Heavy Modular Frames unlocked yet, so I figured I'd just lay out some baseline stuff, and then..... I kinda just kept going.

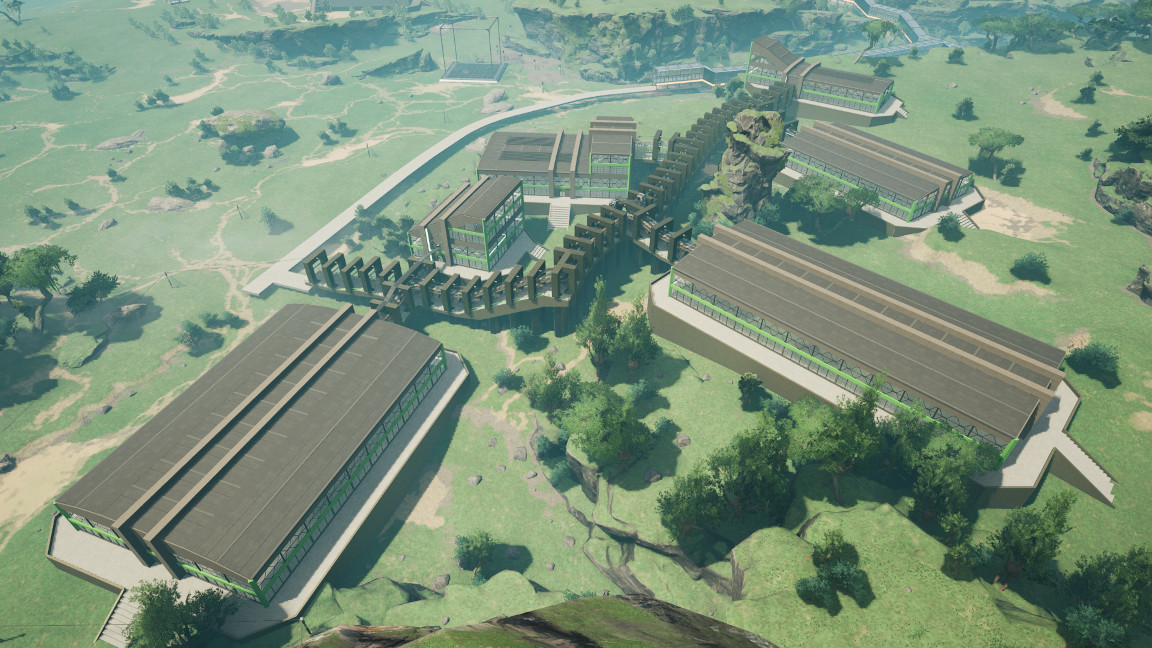
I built out a basic prototype, with the idea that, for this whole little campus, I wanted to try out building with lots of big fat foundations, instead of just nothing but walls.

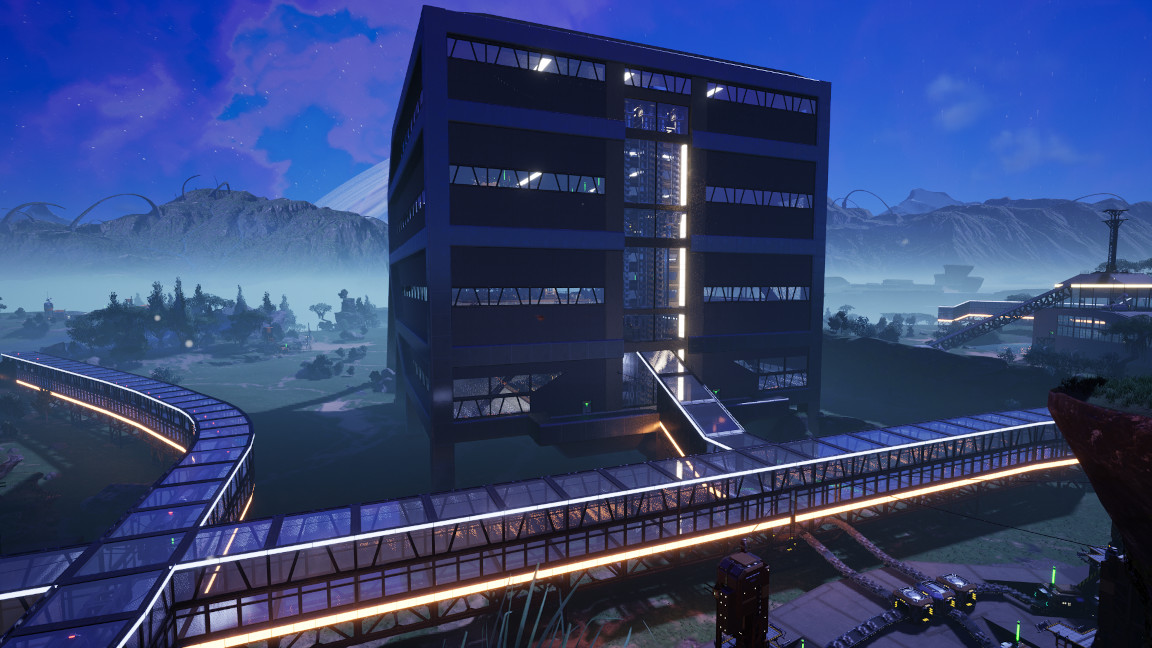
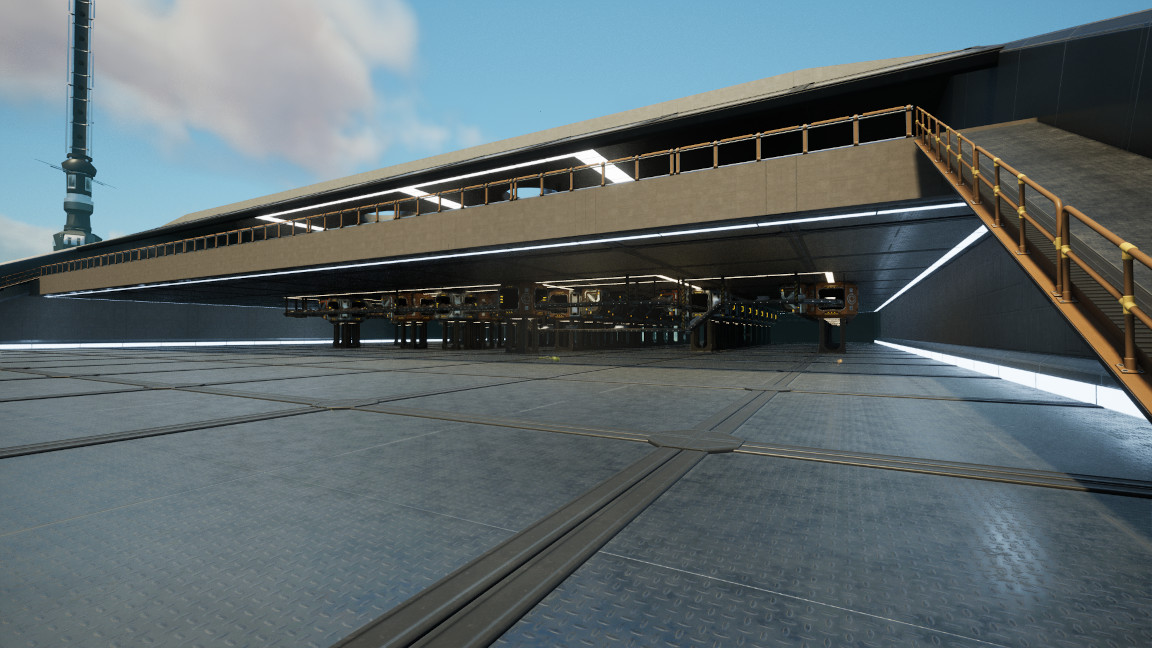
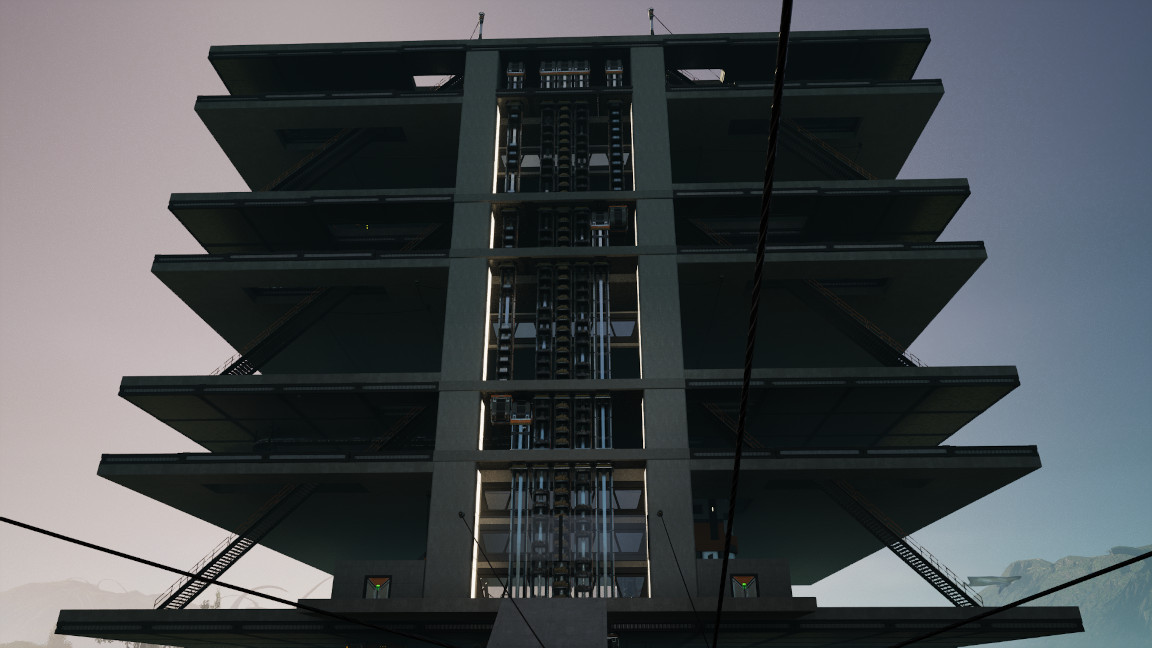
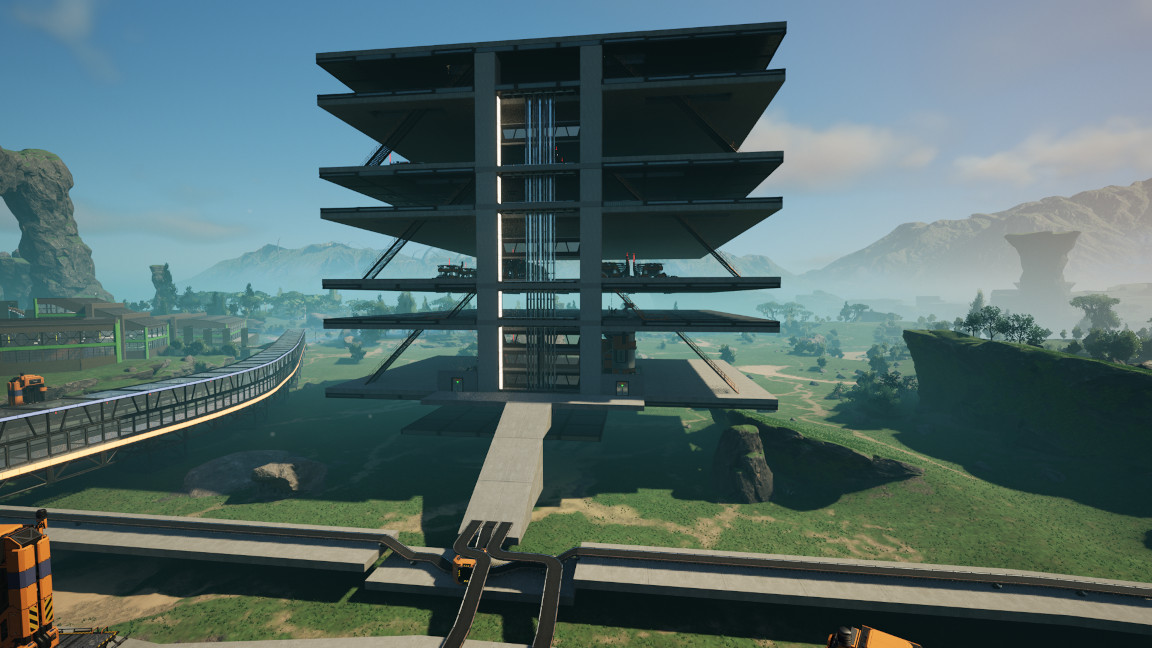
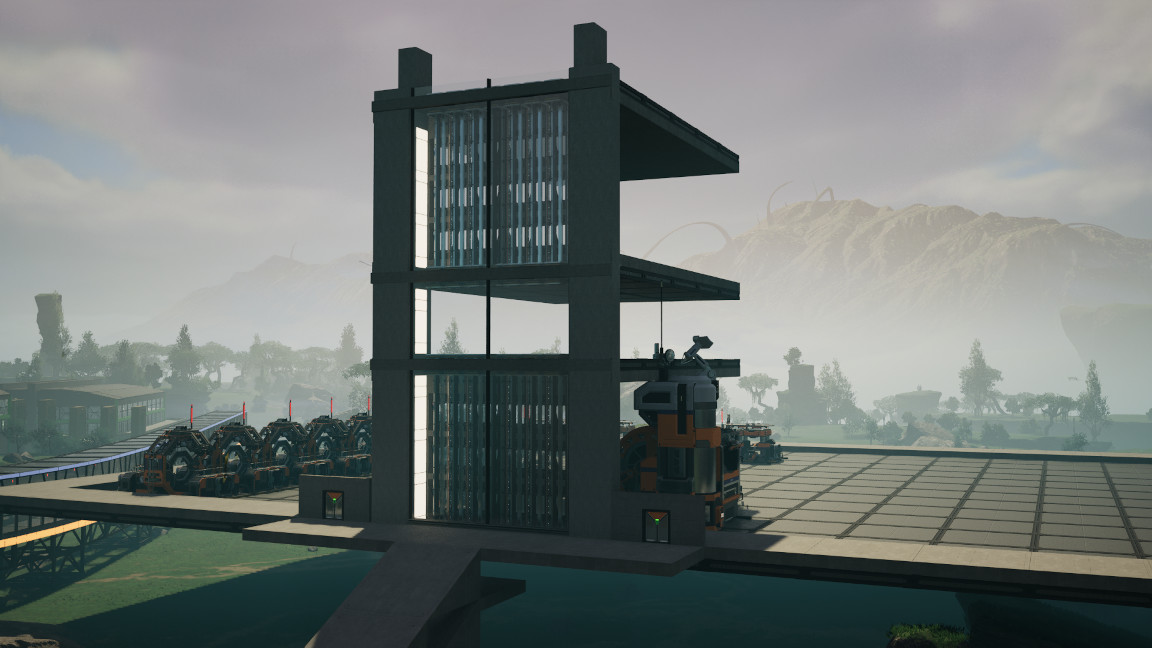
With the footprints for these buildings all being rather small, I'm gonna go with a very similar design to the big skyscraper from a few weeks ago, so that means lots of opportunity to leverage blueprints.

First building will be ore processing, with 30 smelters for Iron Ore. Also need 3 Foundries, but those will all fit on one floor, so no point in blueprinting.

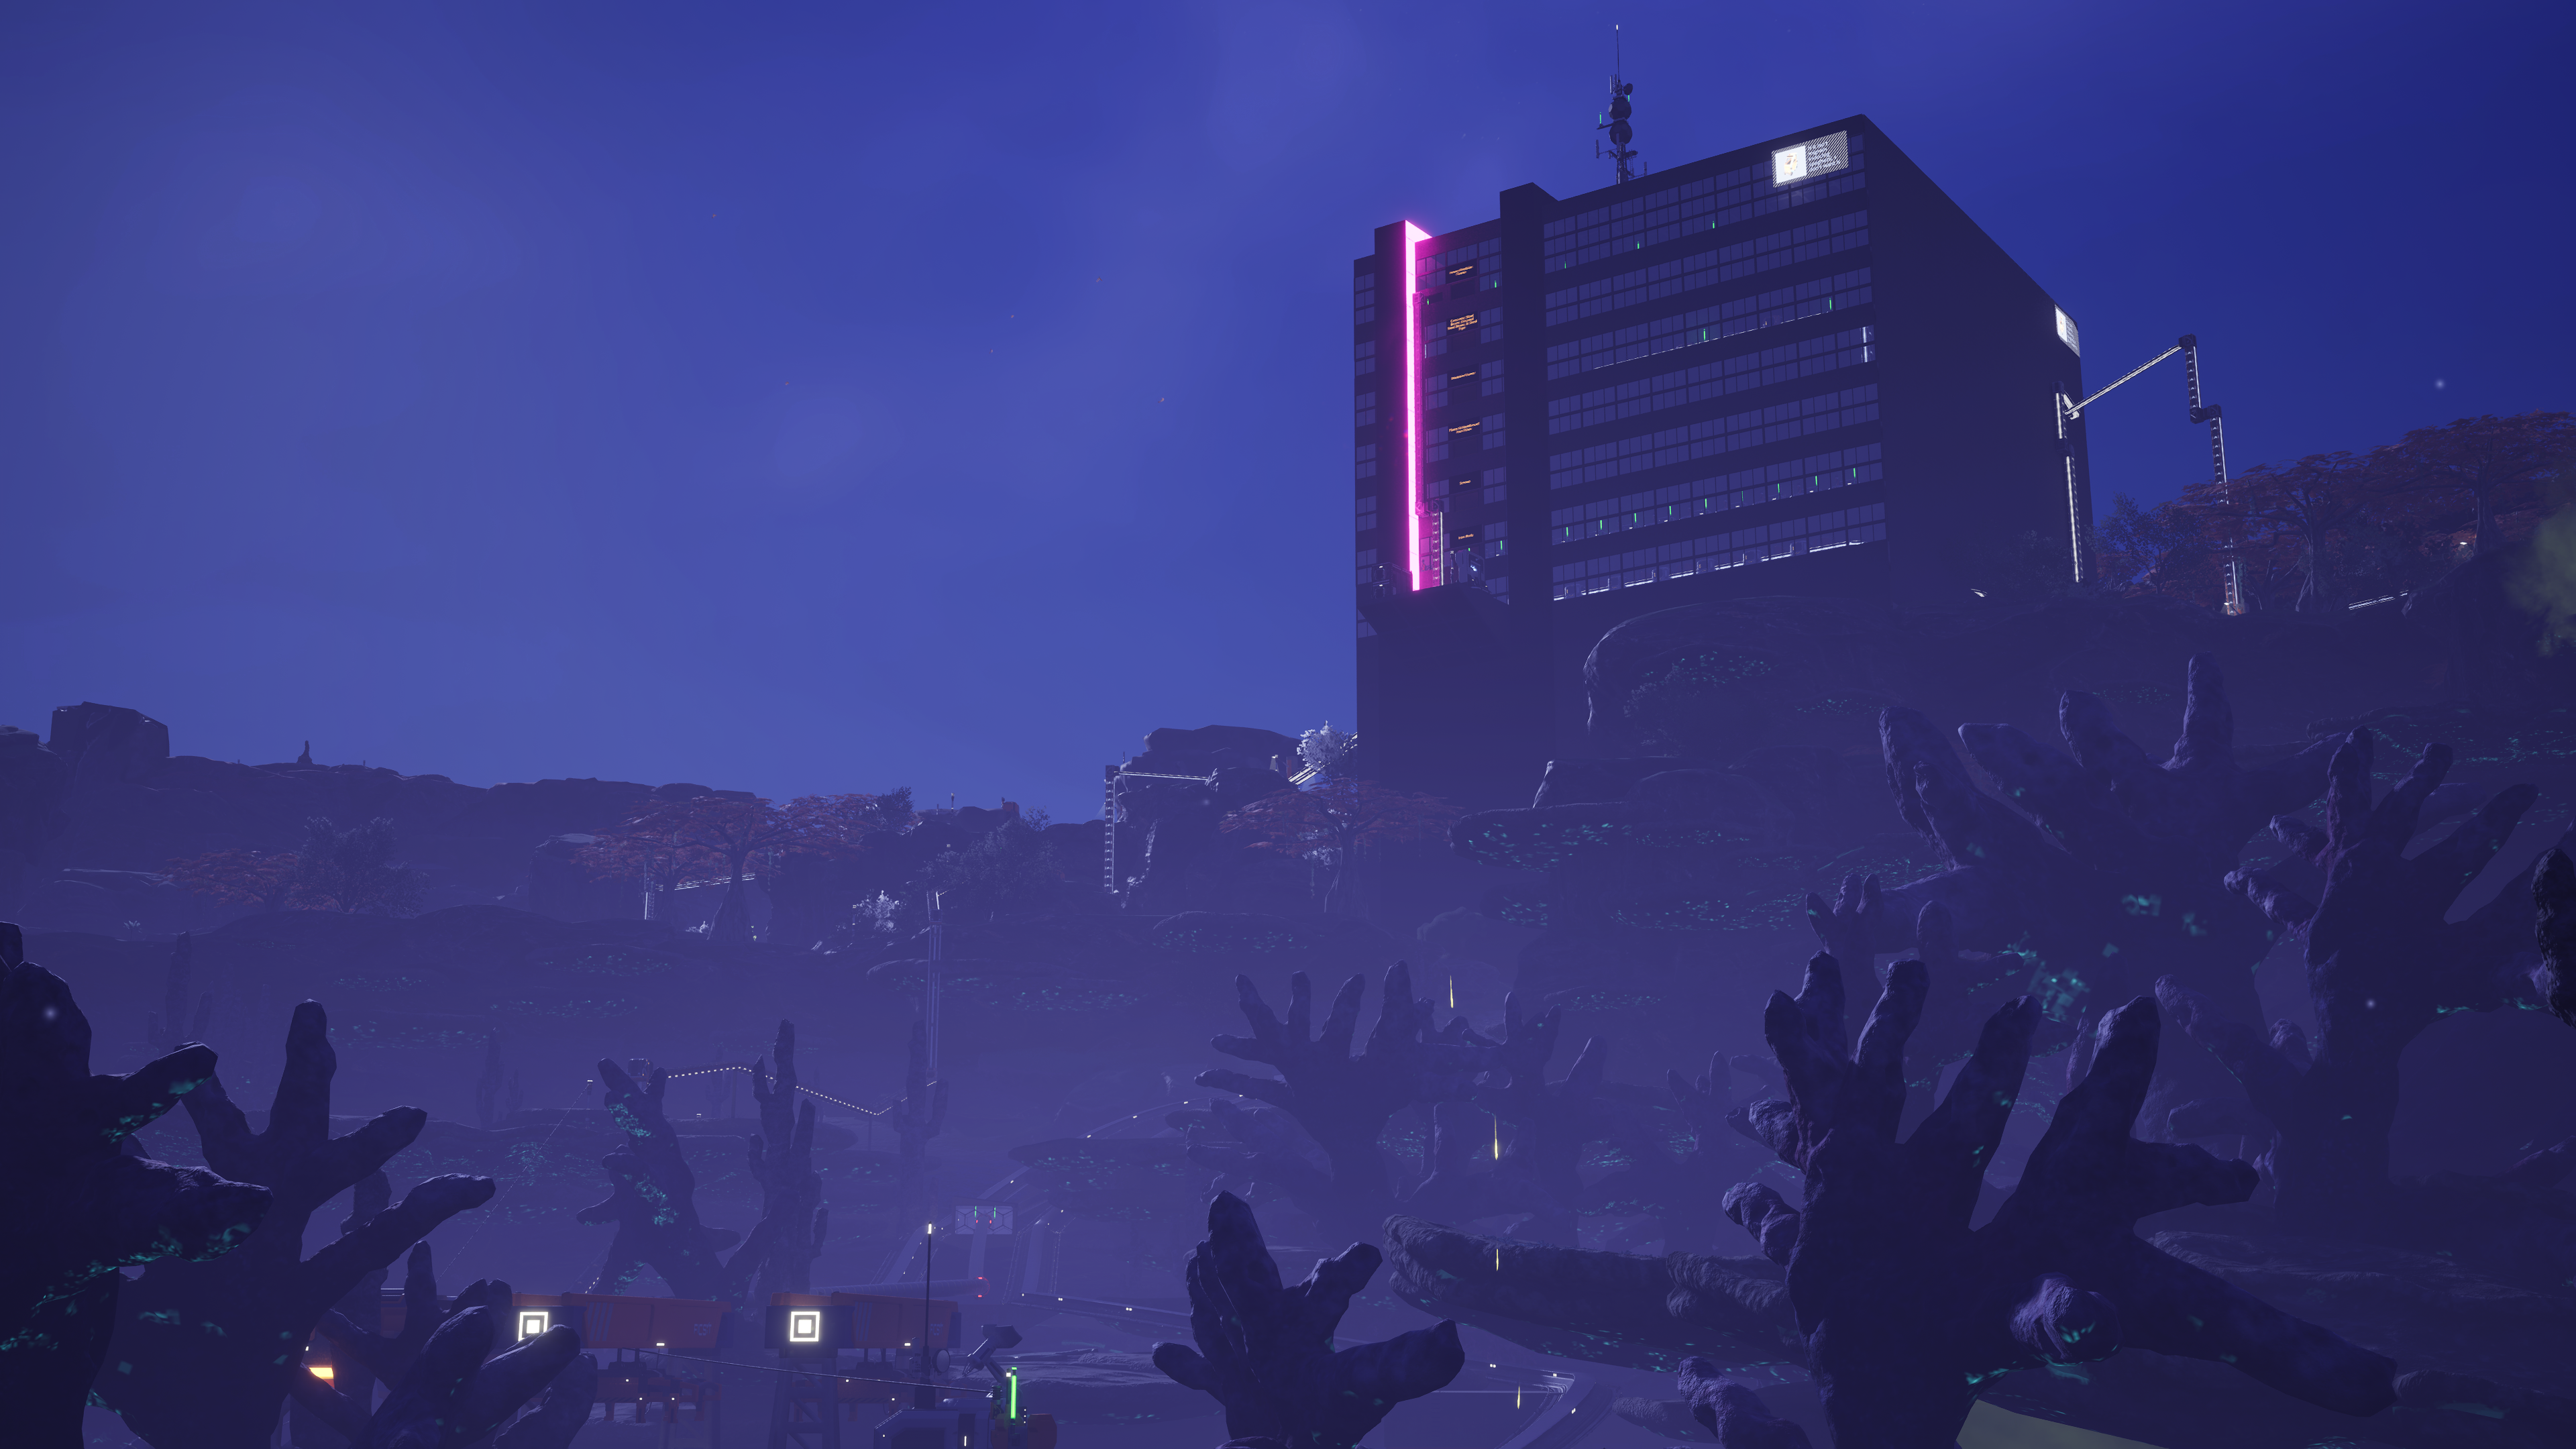
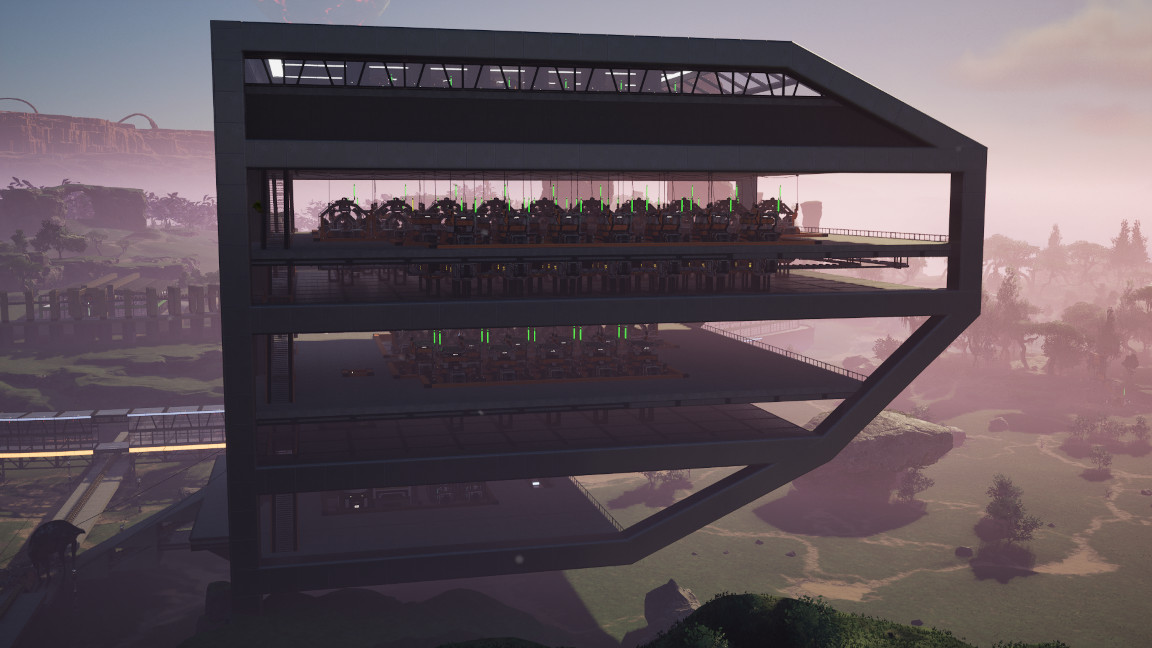
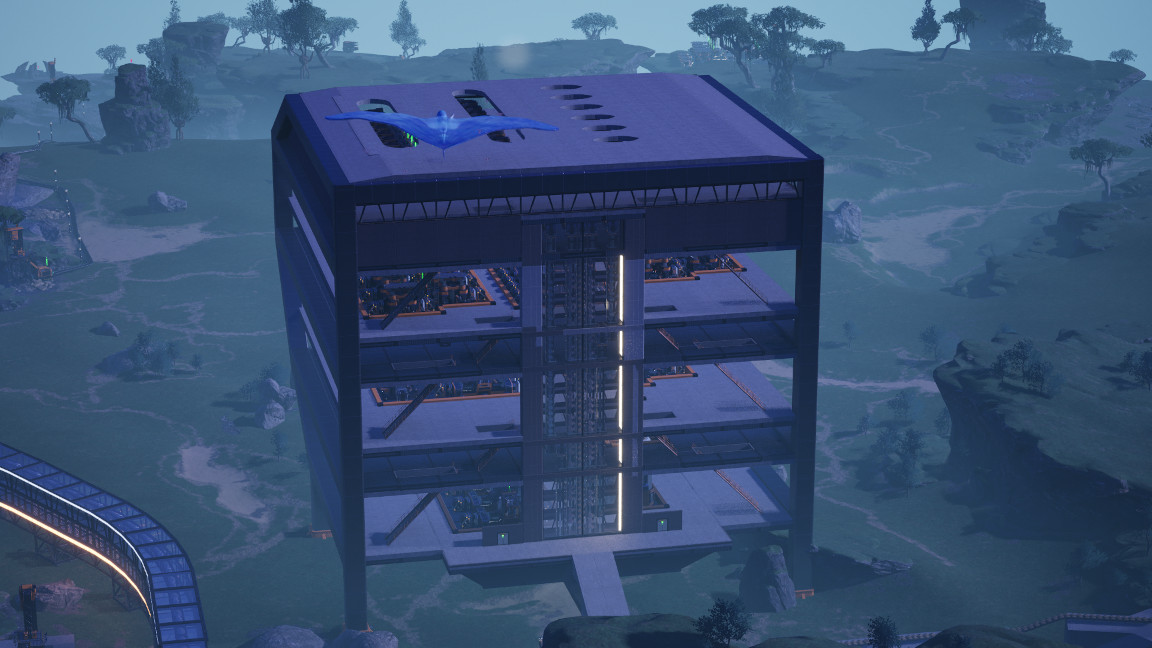
Night shot.

5
 
 
6


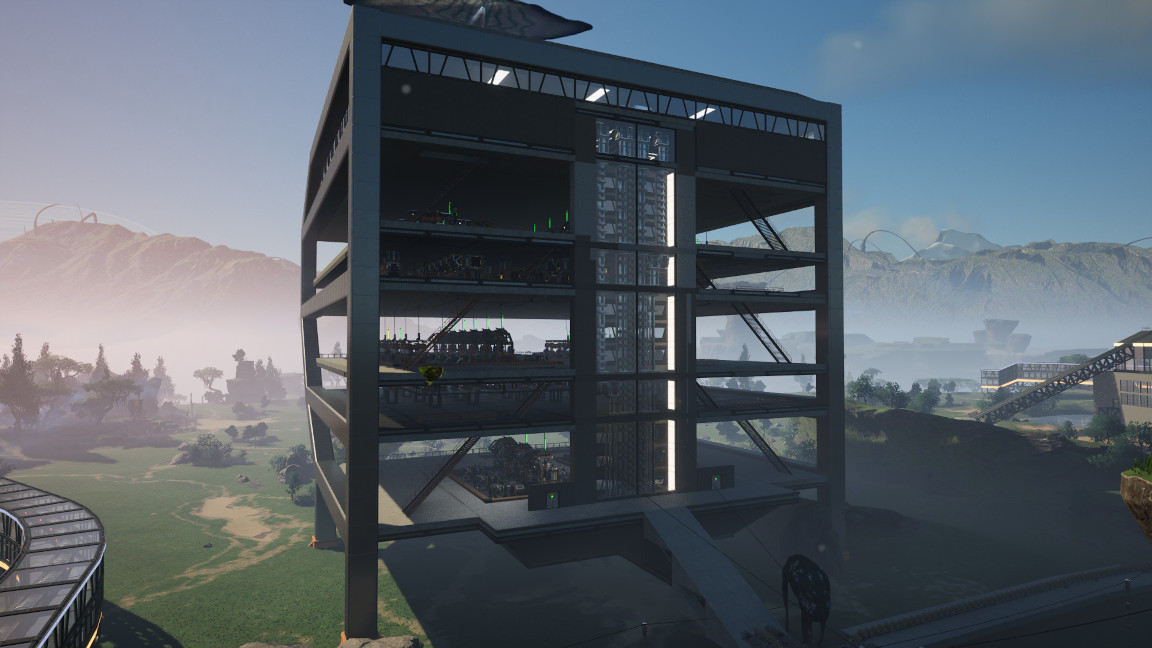
DONE!

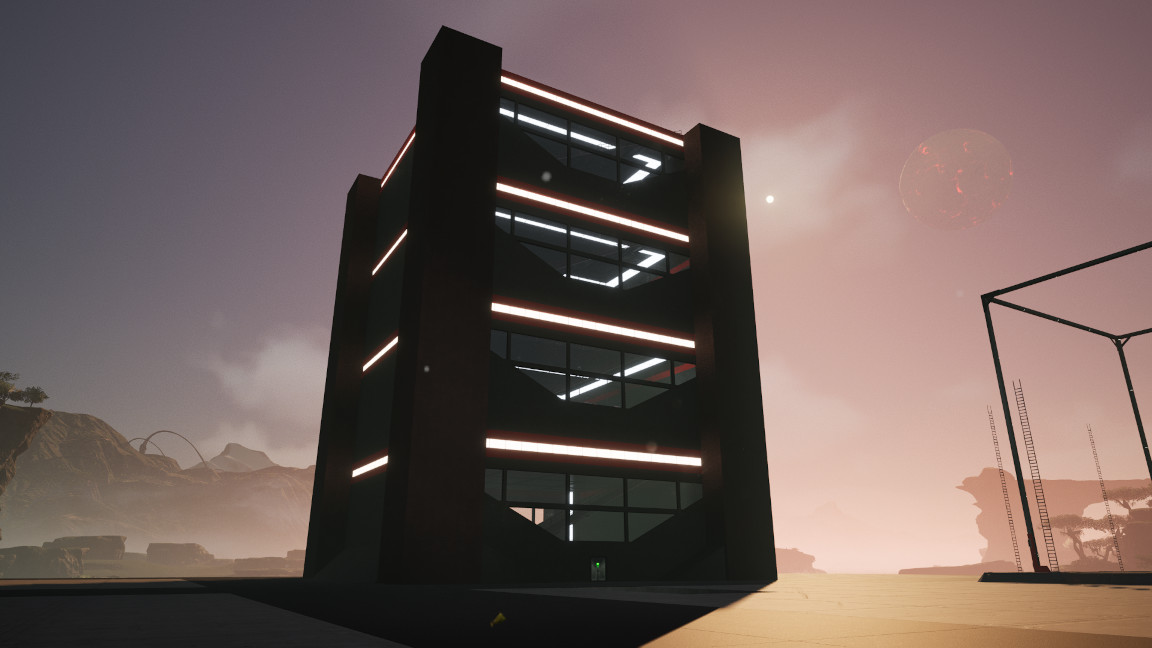
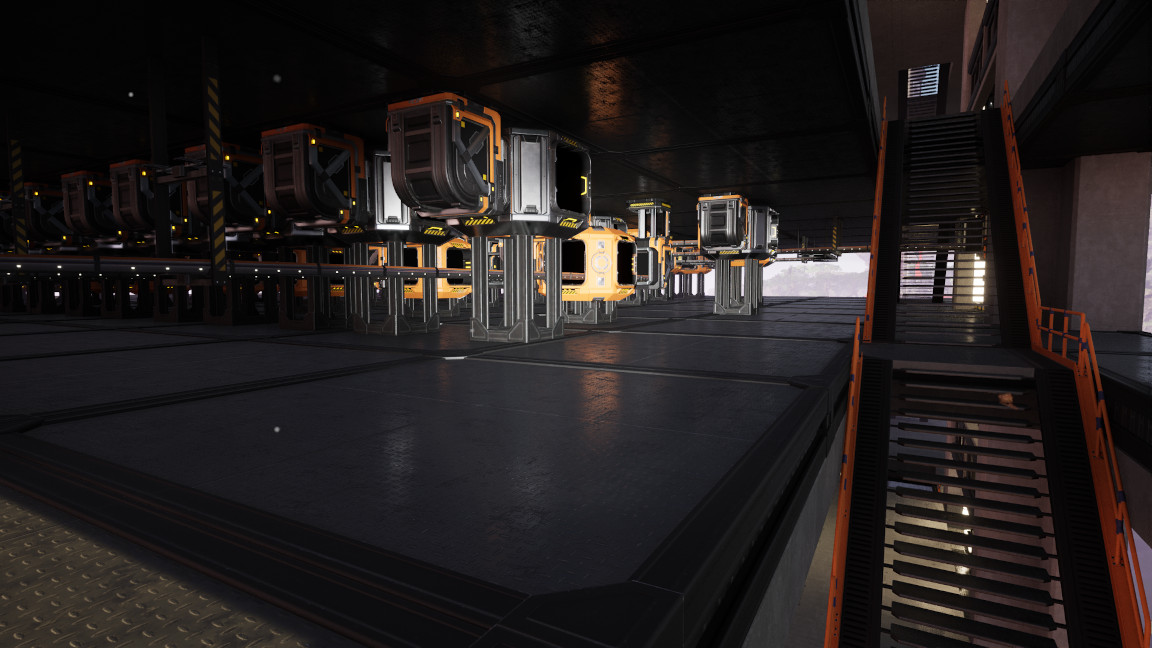
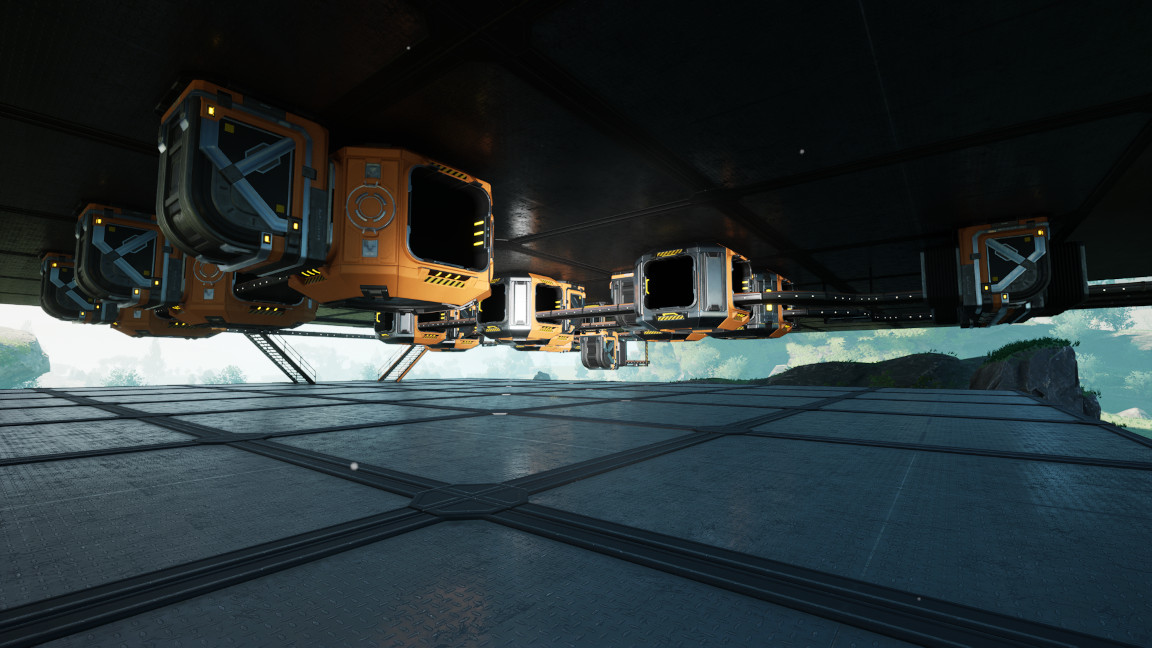
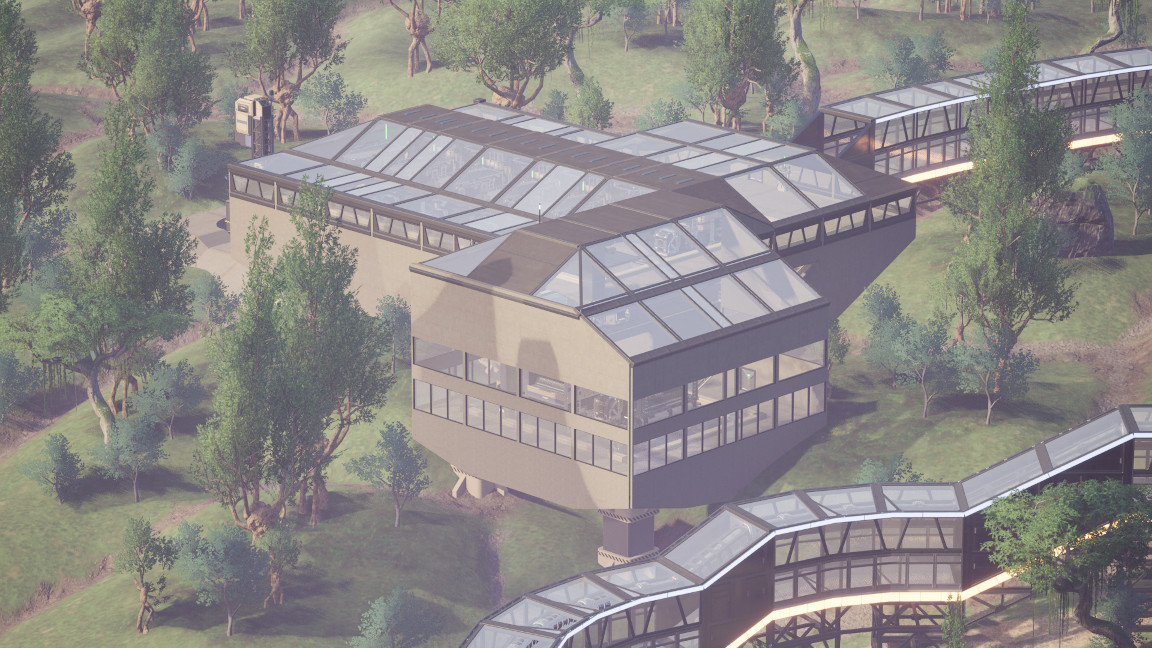
All things considered, I'm satisfied with it. I honestly can't say I like it, though. Much more of a giant cube than I'd have liked. But I did everything I set out to do with it, and I'm ready to move on.

Also, finally made it to 100% efficiency on the last machine in the chain.

7
47
Scrubbles' Guide to Trains (poptalk.scrubbles.tech)
submitted 4 days ago* (last edited 4 days ago) by scrubbles@poptalk.scrubbles.tech to c/satisfactory@lemmy.world


Scrubbles' Guide to Trains in Satisfactory

Hello all, I was in a stream earlier today where I was watching Satisfactory, and realized that trains are pretty nuanced in Satisfactory, so I decided to write a quick guide on some of the ways I build out my rail network. For reference, my last build had over 80 train lines and well over 200 running trains at any moment.

Disclaimer: There is absolutely no right or wrong way to play Satisfactory. Everything below is my own personal preference that I have found works for my builds, but please don't take it as I'm saying it's the best way. Experiment and try things out!

Train Building

Each of my trains now is pretty standardized in length. I've found that this is the best way to balance cases where I run out of space on a train. The consist is:

| < Engine | < Engine | 10 x Cars | Engine > |

I've tried shorter ones, but what happens is when you run out of space you have to find each stop and add a station to it. I've also done 20 car trains. While fun, later in game they rubber-band a lot, and also lugging 20 cars up the hill to red forest takes A LOT of power. So I standardized on 10, and it's been a good mix. If I run out of space, usually that means I can add another station.

Track Layouts

The Mainline

My mainlines consist of 4 tracks, with 2 in each direction. This follows the British Network Rail standard, which I have found to be the best in game. Why two tracks? Well, one it looks really cool. 2, it has a ton of capacity. However the biggest one is that I have, just like in the UK, fast and slow tracks. The inside tracks are my "fast" tracks. I reserve these for trains going far distances, where they don't want to stop every 100m just to wait for some branch train cross over. They should maintain speed as much as possible. The outer tracks then are reserved for those branch lines.

In the UK, naming a track "Up" usually means towards London, and "Down" means away from London. Taking that to here, my "Up" tracks mean heading towards the Hub, and "Down" means heading away. So "Up Fast" is the fast track towards the Hub.

Secondary Lines

Of course, towards the end of those lines, or just where natually it's obvious, I will split those into two secondary lines. Splitting off to large areas or other factories this is a good way to maintain the level of trains on each of the 4 track mainlines.

Branch Lines

These are few and far between, but sometimes I do need just a random line that splits off to go to a resource node that's out of the way. For these I will take a single branch line out, and this will be the only time I have trains running in both directions on the same line. These lines usually have 1, or at max 2 trains on a single line, with enough space for passing at the loop at the end. The end of branchlines usually looks like:

------\---| Station-------------------------- | ----\ <- Train 1 filling at station
           \                                                                |
             \-----------------------------------------/ <- Siding where train 2 can wait without blocking the exit

Building perfect curves

Making curves and straight lines can be a real pain when you're getting started. I want to write it down, don't spend time making your curves perfect. Make your straight tracks first, then connect your curves and let the game handle the spline for you. Like this:

This way you can always have sweet 90 degree or S turns.

Signalling

Now, with a complex network like this, signalling gets to be incredibly important. Because of this, here's a quick guide on how I make signals, and overall how I lay my tracks.

Block Signals

Taking what we had before, let's add some signals. I've added a double track with one line meant to go in each direction here. Note that there are right now, 6 different blocks in this image

Do you see them all? Let me highlight them.

So in this case, Block signals work perfectly fine. Block signals are the base signal type. They are "dumb" signals, purely saying "It is safe to enter into the block I am in front of." So on the curve of the right track it is green, if a train came up to it, yes, it is safe to move into that block. The one after it is blinking Yellow because well, there's no end to the block, so the train would stop.

So to recap. Block signals are dumb. Just binary yes it's safe to move in or not.

Let's add a switch here though. Let's assume these are all block signals. I colored out the signal at the beginning of our switch. Let's assume it's a block signal. What would it show?

Right now, if everything was a block signal, it would show green. That's because right now, the block is empty and it is safe for any train to move into the block. For many intersections, this can be fine. However, there's a pretty big issue with it.

What if there's a train right after that signal? If the next block is blocked, what would that signal do? See my crudely drawn train here:

Well, we know the second signal would be red - because there's a train in it obviously, so no other trains could move in. What would the original first signal be though? Well, since it's safe to move into our intersection, it would be green. However since it is not safe to move into the next block now we have a train in the middle of our intersection waiting for the next block to become clear, and in the meantime if another train came along, it would have to stop and wait for the entire line to clear out first.

That's not great, we have a lot of material to move! So, how can we keep this intersection clear to allow other trains by?

Path Signals

Path Signals are just slightly different. Path signals tell an upcoming train if it is not only safe to move into the next block, but if it is safe to move into the following block as well. So going back to the diagram, if we swap out that first signal for a path signal, here's what it would do:

Note that now the train waits at the signal before ever entering into the intersection. There is no safe path into the next block, so the Path signal will be red until the train ahead has cleared. This allows our trains coming in the opposite direction to safely pass by without worrying.

These concepts will expand out, and as your train network grows so do your intersections. It is crucial if you want a full train network that you understand these concepts. With these two simple tools, you can build out incredibly complex systems.

Building out parallel lines

Another question I've received is how do I make nice clean parallel tracks at great distances? The answer is I have a blueprint which is just the "pillar" itself, and it has "dangling" tracks out in front of it.

This allows me to "snap" my tracks together by placing a pillar out in front, snapping the tracks together, then deleting the dangling ones in front of it. For perfect straight lines you can see I have foundations in the blueprint too that are purely used to help snap the next blueprint to. I zoop a foundation out in front, snap the next pillar, snap the rail lines, then remove the foundations and the dangling rail lines. I then extends the pillar down to the ground.

How do I "split" trains on tracks?

I don't. So this question has come up a few times, if I have 4 tracks how do I prioritize trains on separate tracks? The answer is I don't really. What I do is when I build a station out in the middle of no where I make a concious decision on which of the 4 tracks I want to hook it up to. Do I want it on the fast line or the slow line? That will determine the train's path for the entire route, if it takes the inner or outer lines. Because of this, the fast and slow tracks never connect. Once a train is on the fast or slow track, that's it's path. The only place where these two parallel tracks meet is at the Hub, where each station branches to both the fast and the slow tracks. That just makes it easier for me to keep building in the field. If you can decipher it, this is how my Hub is laid out:

Note how each station branches off to both fast and slow lines. This is different then in the field where it chooses only fast or slow.

For those studying - also note that is one giant block (for most of the image). Each station has a Path signal, and at the end of that are the block signals. The train will leave the station only when there is a safe path out to the mainline.

More to come

I'm sure I'll have more to add, but this is a good primer on trains in Satisfactory. Satisfactory really does have a model train simulator baked right in. For me, this is a very fun part of the game, and I have spent hundreds of hours just building trains. They add a great dynamic to the game, and really do let you build huge workloads. Remember that adding things to a train is a lot less graphics load on your machine too, compared to hundreds of kms of conveyor belts, so there's a performance boost as well. In conclusion, I'll leave you to some of my favorite train screenshots:

Inspired by Paddington Station

Carrying the Mainline high above the world hole

Alternate Angle:

Rush hour at the mainline crossover at Rocky Junction

We named this area "Konpeki Plaza", in the downtown of our cyberpunk city. Trains would roll through a few times a minute.

8
9
31
submitted 4 days ago* (last edited 4 days ago) by ImInLoveWithLife@lemm.ee to c/satisfactory@lemmy.world


Double Decker system, lower deck for road vehicles, upper deck for trains. Still a ton of work to do, but I really enjoy the result so far. I only have the one screenshot now, and some progress pics while I worked on the blueprints (not the finalized design), but I'm on mobile, maybe I'll share some more later.

Edit: Adding linked screenshots! These are all on my test configuration while working in the blueprinter.

At night, with added rail!

Truck

Nice overview shot.

10


Here are the basic photos of the rig:

This is the plastic and rubber manufacturing:

The residue from that goes into the turbofuel refineries:

some of it is packaged, the rest gets burned in 8 2x overclocked fuel generators for power:

But that's not all! I had to do quite a bit of infra to get the oil rig working, like:

Oil pipelines:

A train network:

(the last picture is the view from the tower i showed off in my last post here.)

and a compacted coal production building thing:

here are the details about the input/output:

inputs: outputs:
480 crude oil 205.5 plastic
165 coal 92 rubber
165 sulfur 45 packaged turbofuel
4000MW

all machines working at 100%, with 0 waste.

please ask if you have any questions.

EDIT: here is the map

11


Show me the ugly.

About to hit phase 2. Never made it there in early access. Forrest start.

I keep saying I'll make it nice next phase 🫣

Starting some multi level frames

12


Three more floors done today. Two more to go.

13


Edit: yup, ill do it tommorow.

14


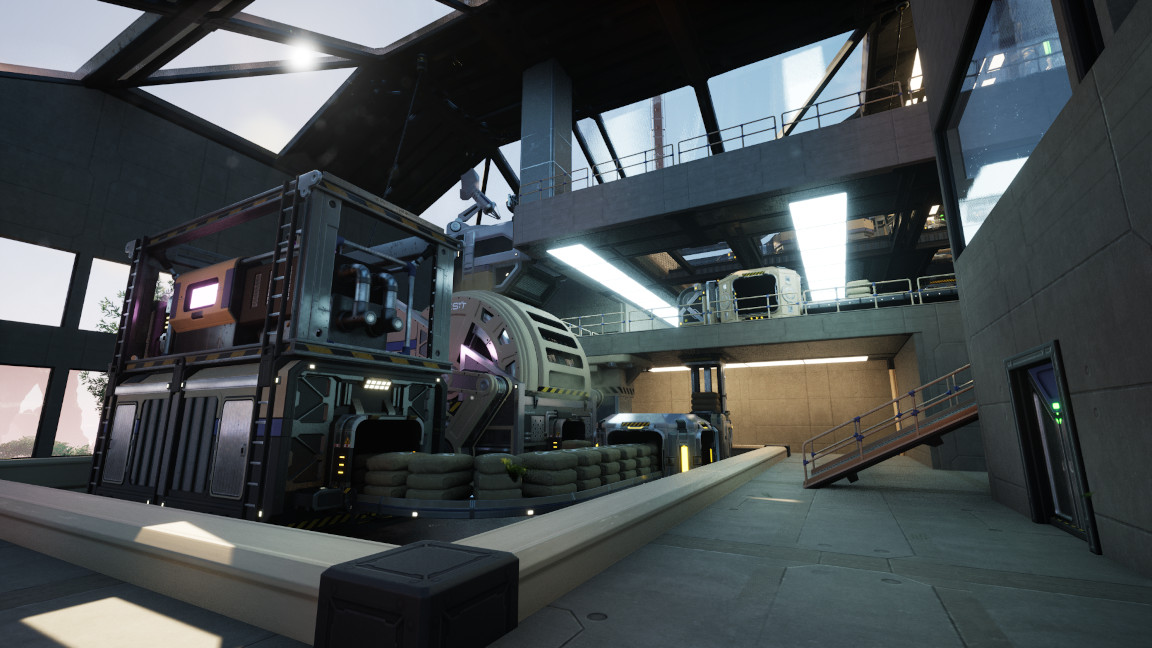
More progress on the Rotor/Motor factory, today. I'd say maybe halfway done with the cosmetics?

Basement floor (logistics for Motors, Depot, & Sink) is fully done, I think.

Also the first floor itself. Except for walls.

Also the top-most floor (Iron Ingot).

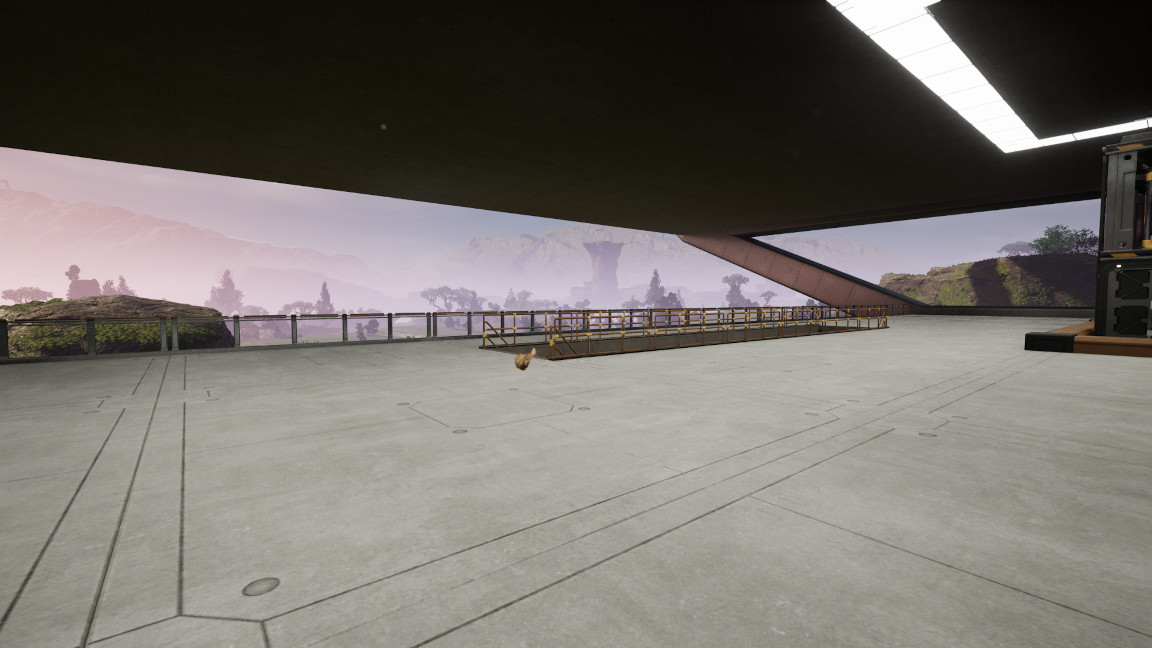
Also the logistics floor below that. And this sorta-balcony thing.

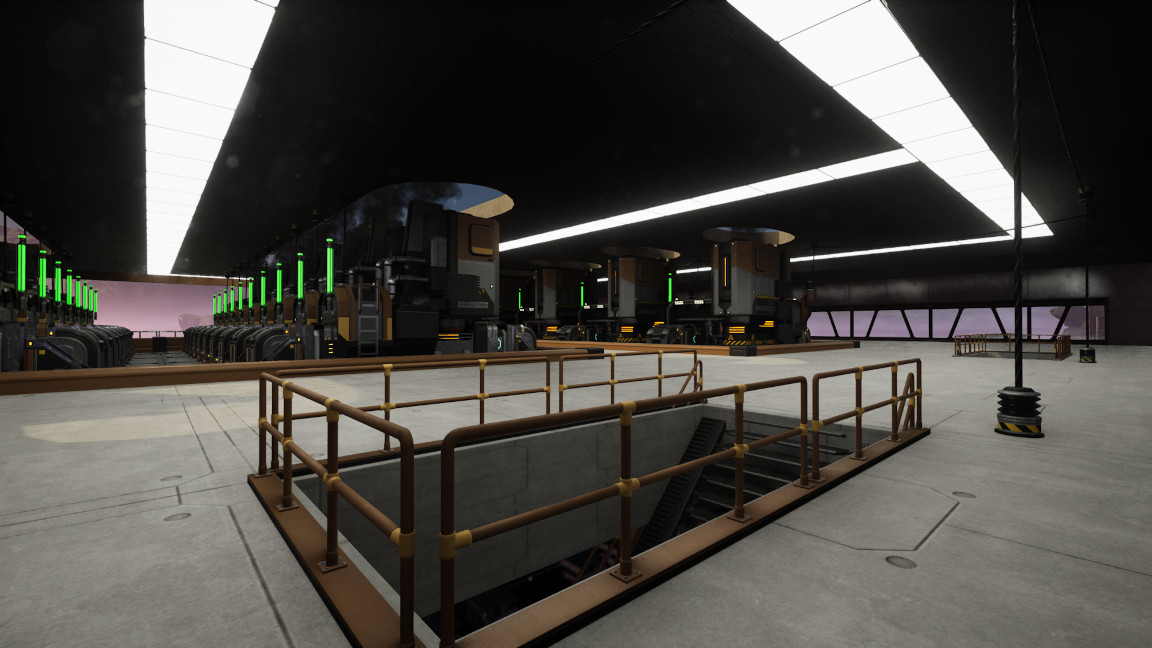
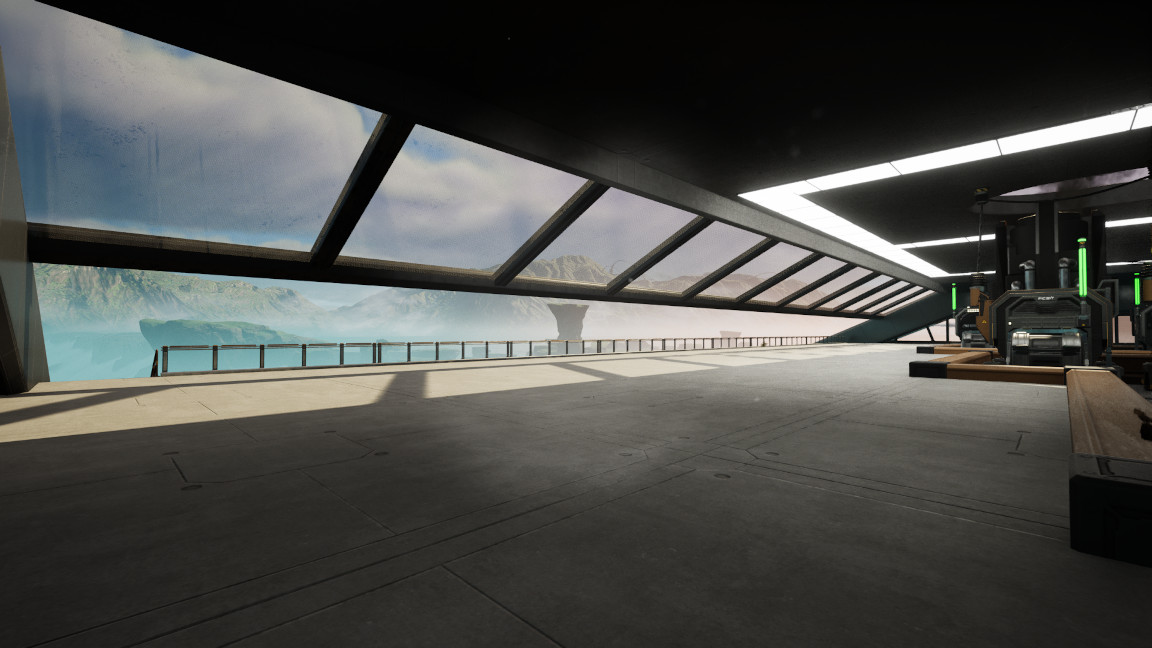
Some wide shots.

15
 
 
16


I spent way more time and resources on this than I probably should have, but Sonic makes me smile!

17


Rotor/Motor factor is fully-online and functional. Running at 1/8th clock, it's gonna take a whiiiiiiiiile to prime up and fully debug, though. Gives me plenty of time to do cosmetics, next time.

Logistics floors, again.

This one in particular was a little interesting. I've got 20 machines here making Cast Screws, and instead of trying to figure out the logistics of balancing these across 3 belts, I just took advantage of the fact that I also have 10 Rotor assemblers, that need to receive the screws, so I grouped all the Screw machines into pairs and each pair is just a dedicated single-belt feed straight to an assembler.
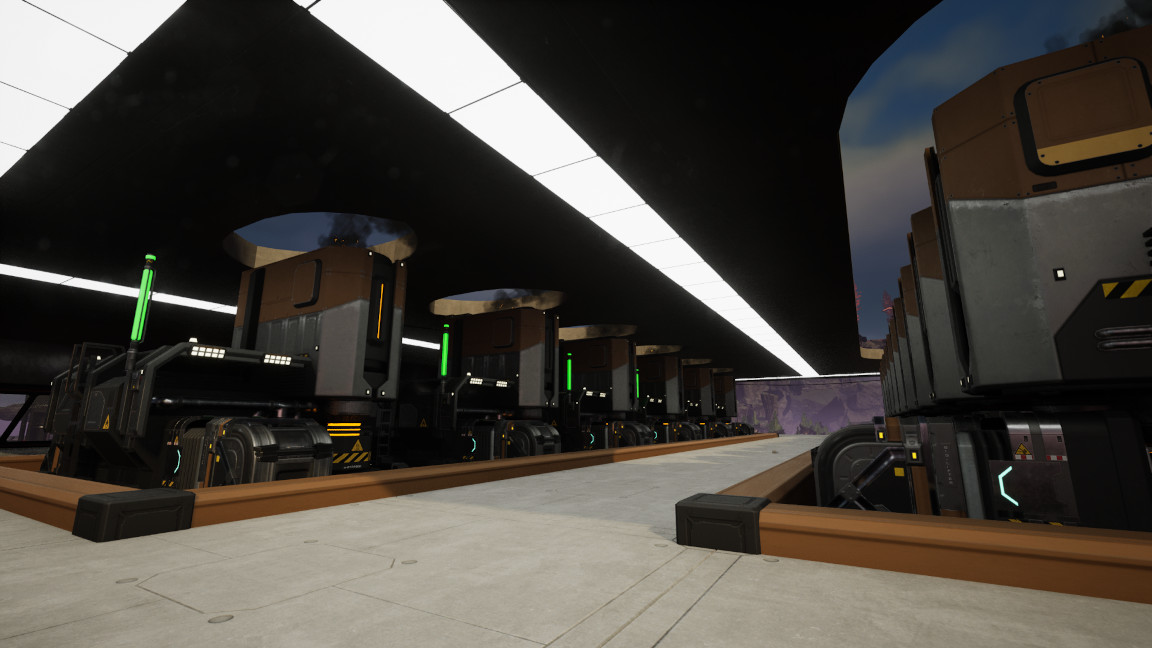
Actually had to cut TWO holes in the floors to fit the damn Sink. I don't actually mind, though, it ought to provide a nice little bit of flavor, when it's decorated.

What do y'all think? Better with or without the frame pillar supports for all the splitters and mergers?

18


Got all the machines laid out today, across all the floors, and I think the floorplan is now fully set. Gonna try and get the factory functionally online, then get all the cosmetics filled in.

Got all the ore lines laid out as well.

Slightly better view of all the machine lines.

19


Made a little more progress in the coop playthrough, with my wife. Still just working on this one belt line.

Once again, we only played for like an hour, and we didn't get much done. Seems like every time we play lately, she gets nauseous. I'm hoping it's somehow related to the engine settings changes I made to help make Lumen look better, so I can just roll that back. Otherwise, I dunno, we might have to call this one off.

Anyone else had issues with nausea when playing this game?

20


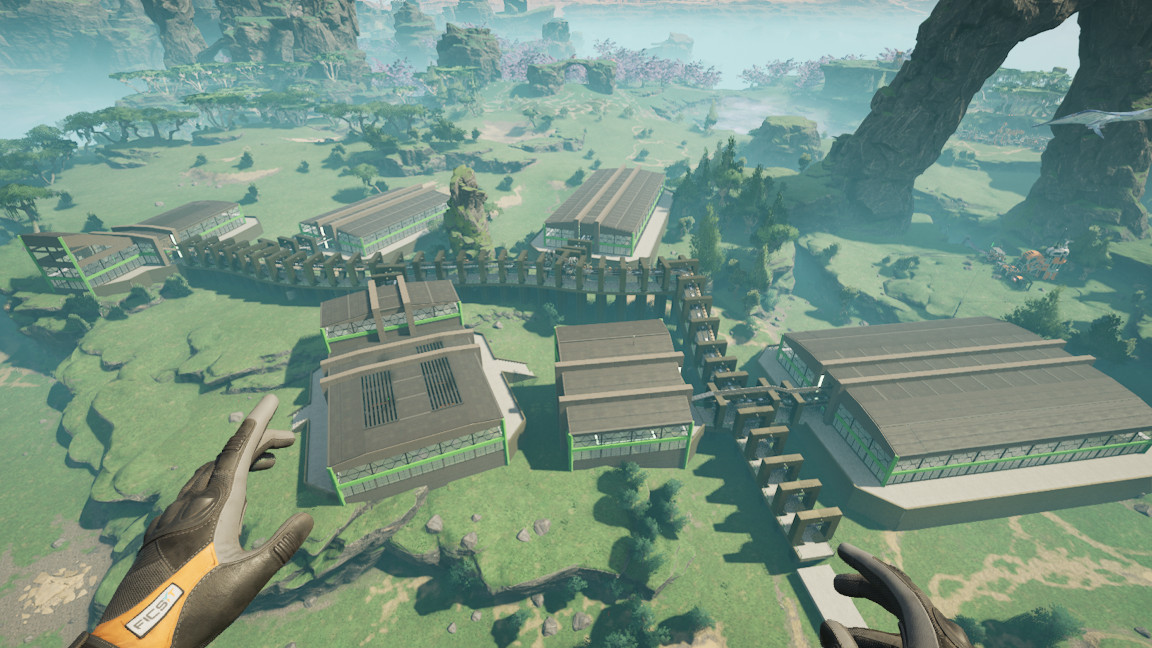
The next factory's gonna be for Rotors and Motors. I got the miners all laid out yesterday, with walkways to connect them, and established roughly where the building is gonna go.

I'm going for a large multi-floor single-building factory this time, so I did some prototyping for how those floors might space out, and a concept for interchanging resources between floors.

Also did a little rough estimation of the longest machine lines I'll need, and how much width and length the floors will need to accommodate them.

With all that, I think I have a good-enough picture in mind for how this will come together.

Skeleton for the first 2 floors, out of 4 planned. No significant issues disrupting the plan, so far.

21


i give you this great power
i do not expect great responsibility
Train Interiors Mod: https://ficsit.app/mod/TrainInteriorsSatisfactory
Tutorial Playlist: https://www.youtube.com/watch?v=Zluo4KpTeYU&list=PLd0z_0Gxs3VAi6T8Gr5Ip0g_oMX5LPNst&index=1&t=0s

Mods, this is self-promo since it's my own video. Please let me know if it crosses the line into ads/spamming, but the main reason I post it here is to contribute content.

22


More backlog today. You can see the bare beginnings of the next factory in the background, but I really didn't get much else done.

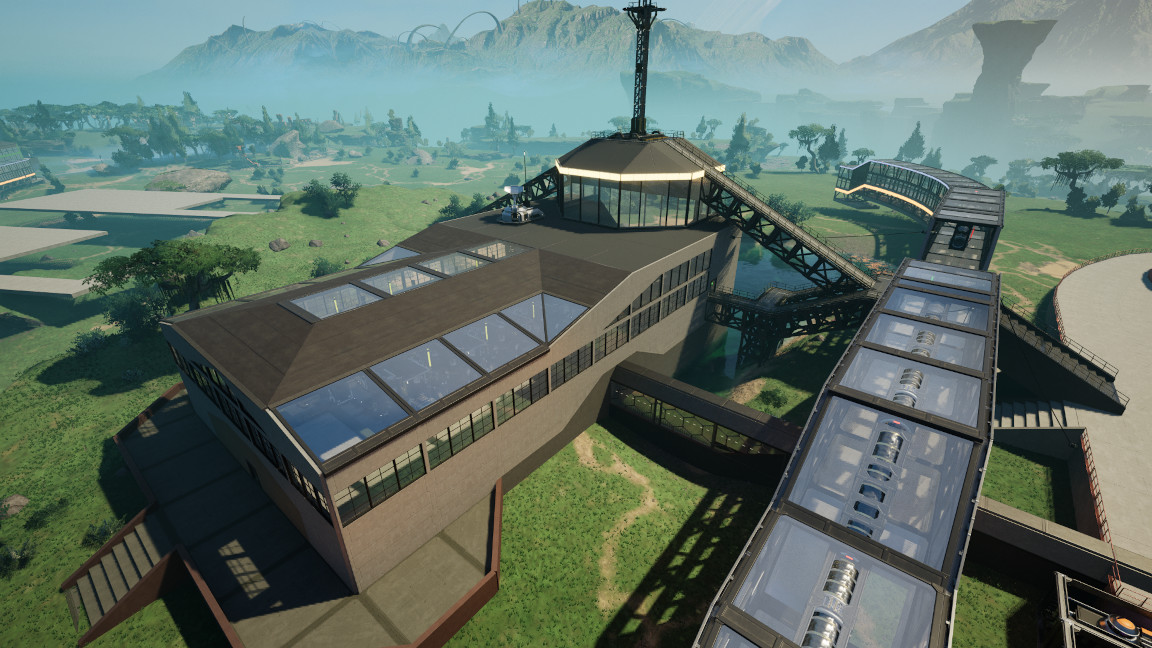
This one here is my recycling facility. It sorts and processes processes anything you drop into the scrap container to produce, Biofuel, or DNA Capsules, depending on what it has room for in storage. Anything that isn't already one of those things, can't be converted, or that there isn't room for gets sunk for tickets.

I really liked how this little enclosed balcony accidentally came about, but this will also be where I expand on to the building, eventually, to produce Liquid Biofuel, once I have that unlocked. That was the reason to build it on water in the first place.

Around the time of building this was when I realized I wanted a nice lookout tower near HQ, so I figured, why not just plop it here?

Here's the recycling line coming from HQ.

23


Didn't really do anything today, except finish building the walkway/tubeway out to meet the new factory. Wife and I played Diablo 4 instead.

So, it's time for some more backlog. This is my concrete factory, and it might still be my favorite.

I particularly like the embedding of glass floor here, together with the steel floor, looking through to the logistics floor. I need to reuse this idea again, at some point.

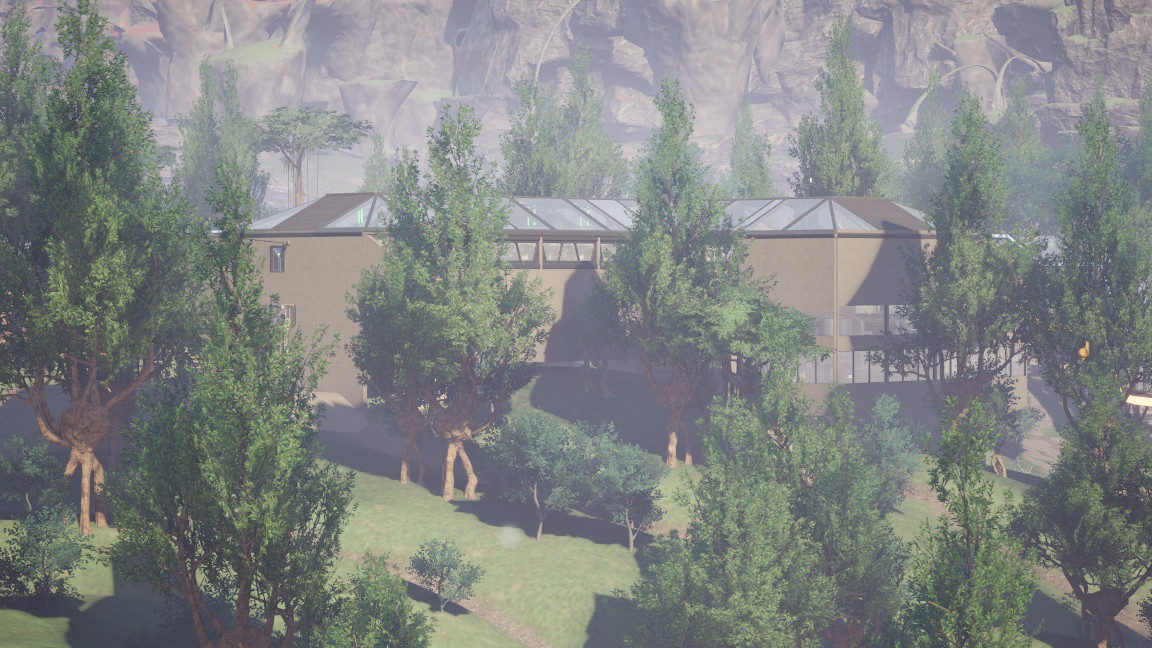
Given the super uneven nature of the terrain here, I thought it'd be cool to build the sink and depot into a whole separate wing, that sits well below the main floor, as it hugs the hillside. Really happy with how that turned out. It made for a really interesting layout on both the inside and the outside.

24


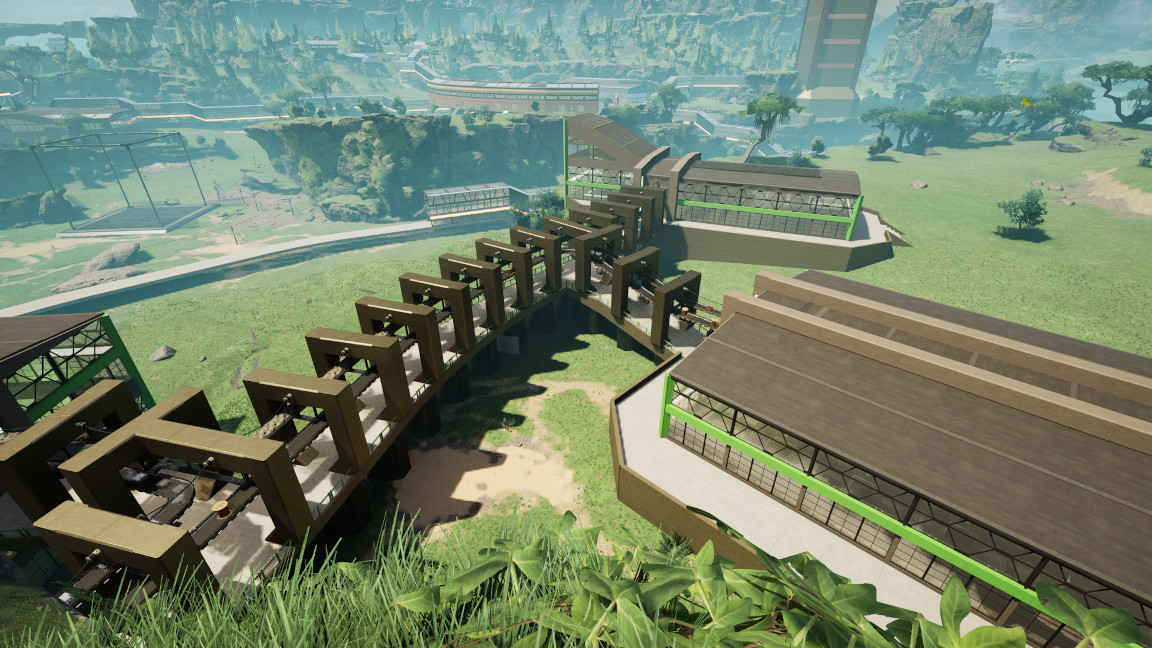
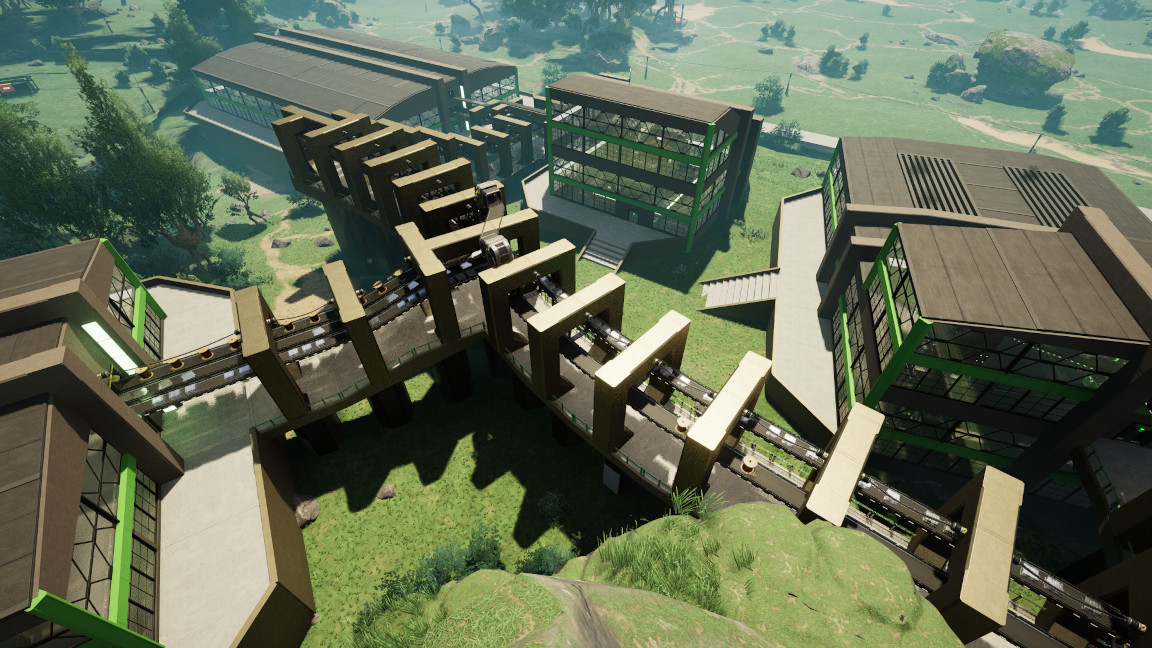
Finished the final building, finished the walkway/beltway, and wired everything up. This here Reinforced Iron Plate factory campus is complete, save for a final efficiency audit, after it's done priming.

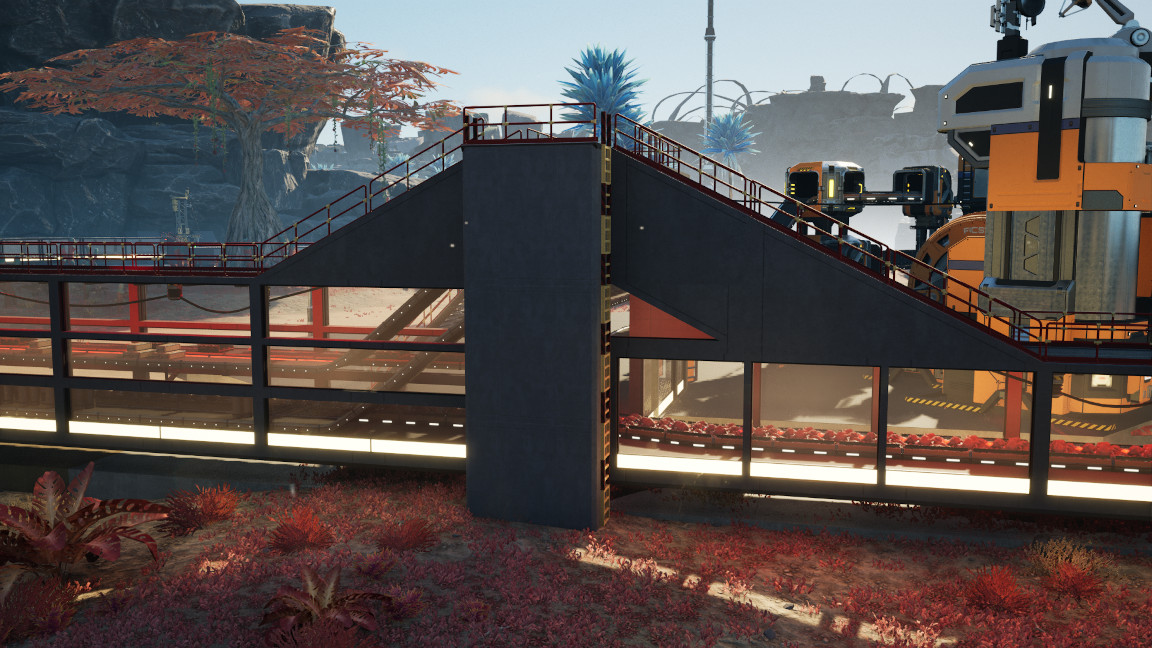
Quite like how this walkway/beltway came out.

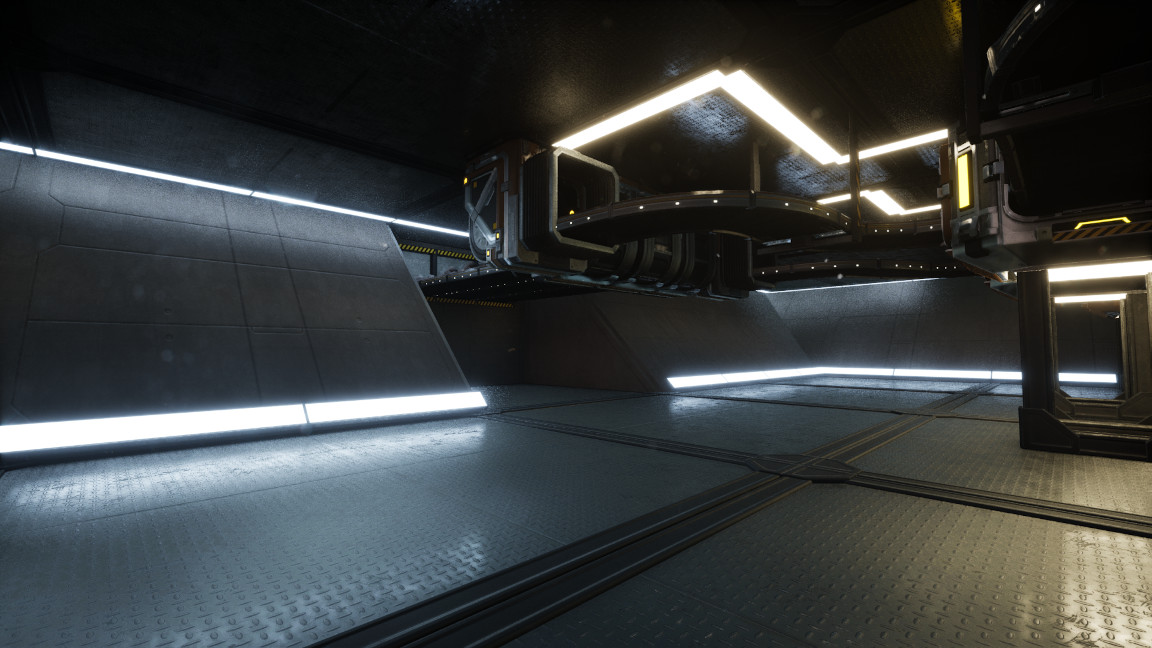
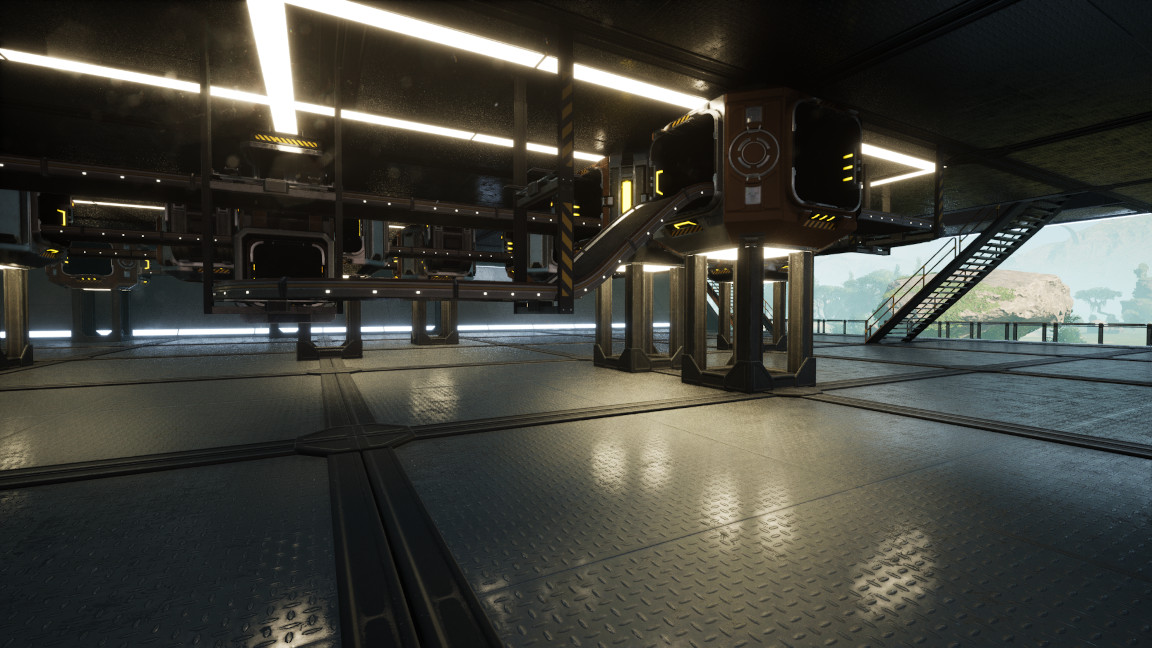
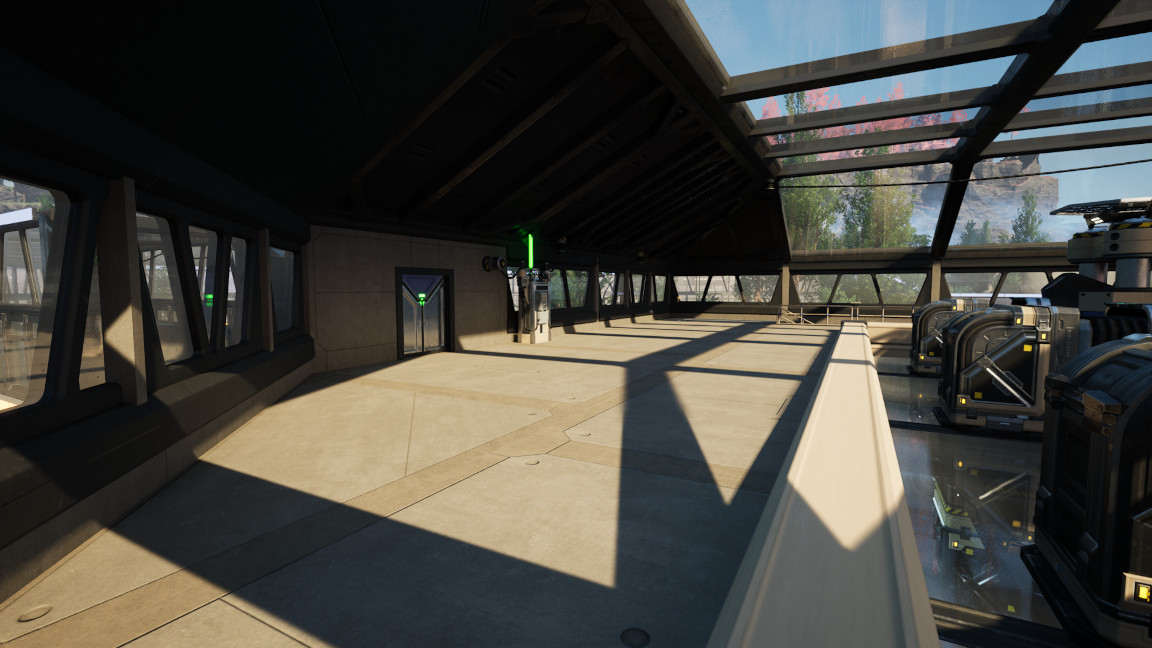
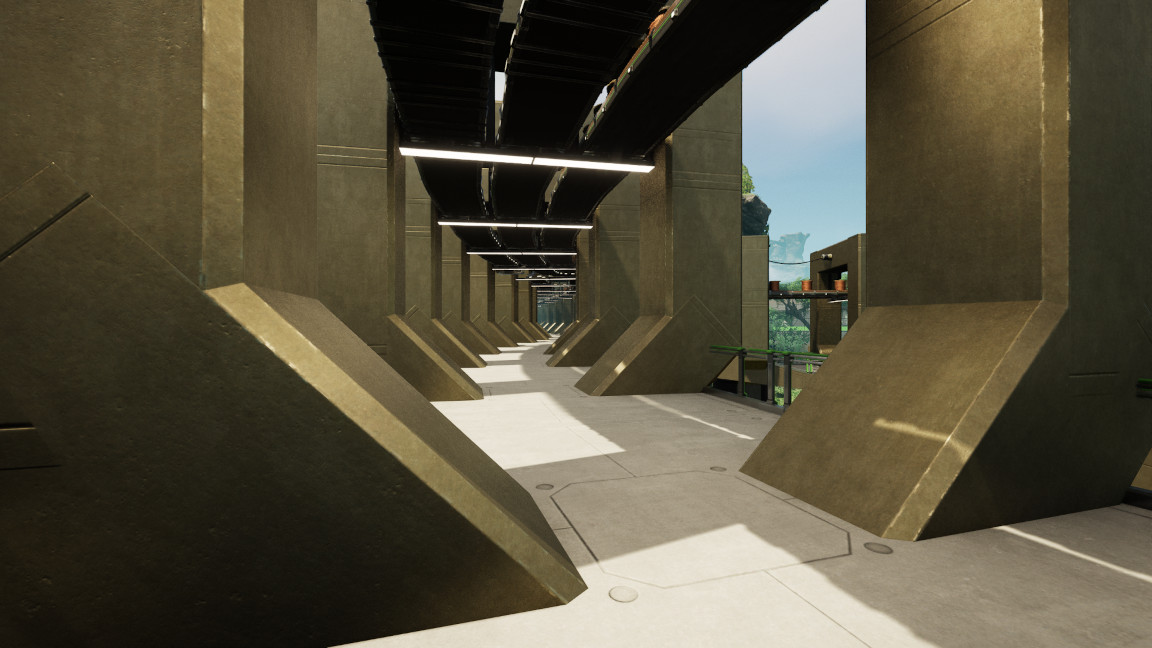
A few shots from inside the final building. I ended up just being plain and simple for the assembler layout. With the exception of needing to do a little cross-balancing of the two wire input lines. This is only the first factory to use assemblers, there'll be plenty of time to be more fancy in the future.

25
22
submitted 1 week ago* (last edited 1 week ago) by TheRedSpade@lemmy.world to c/satisfactory@lemmy.world


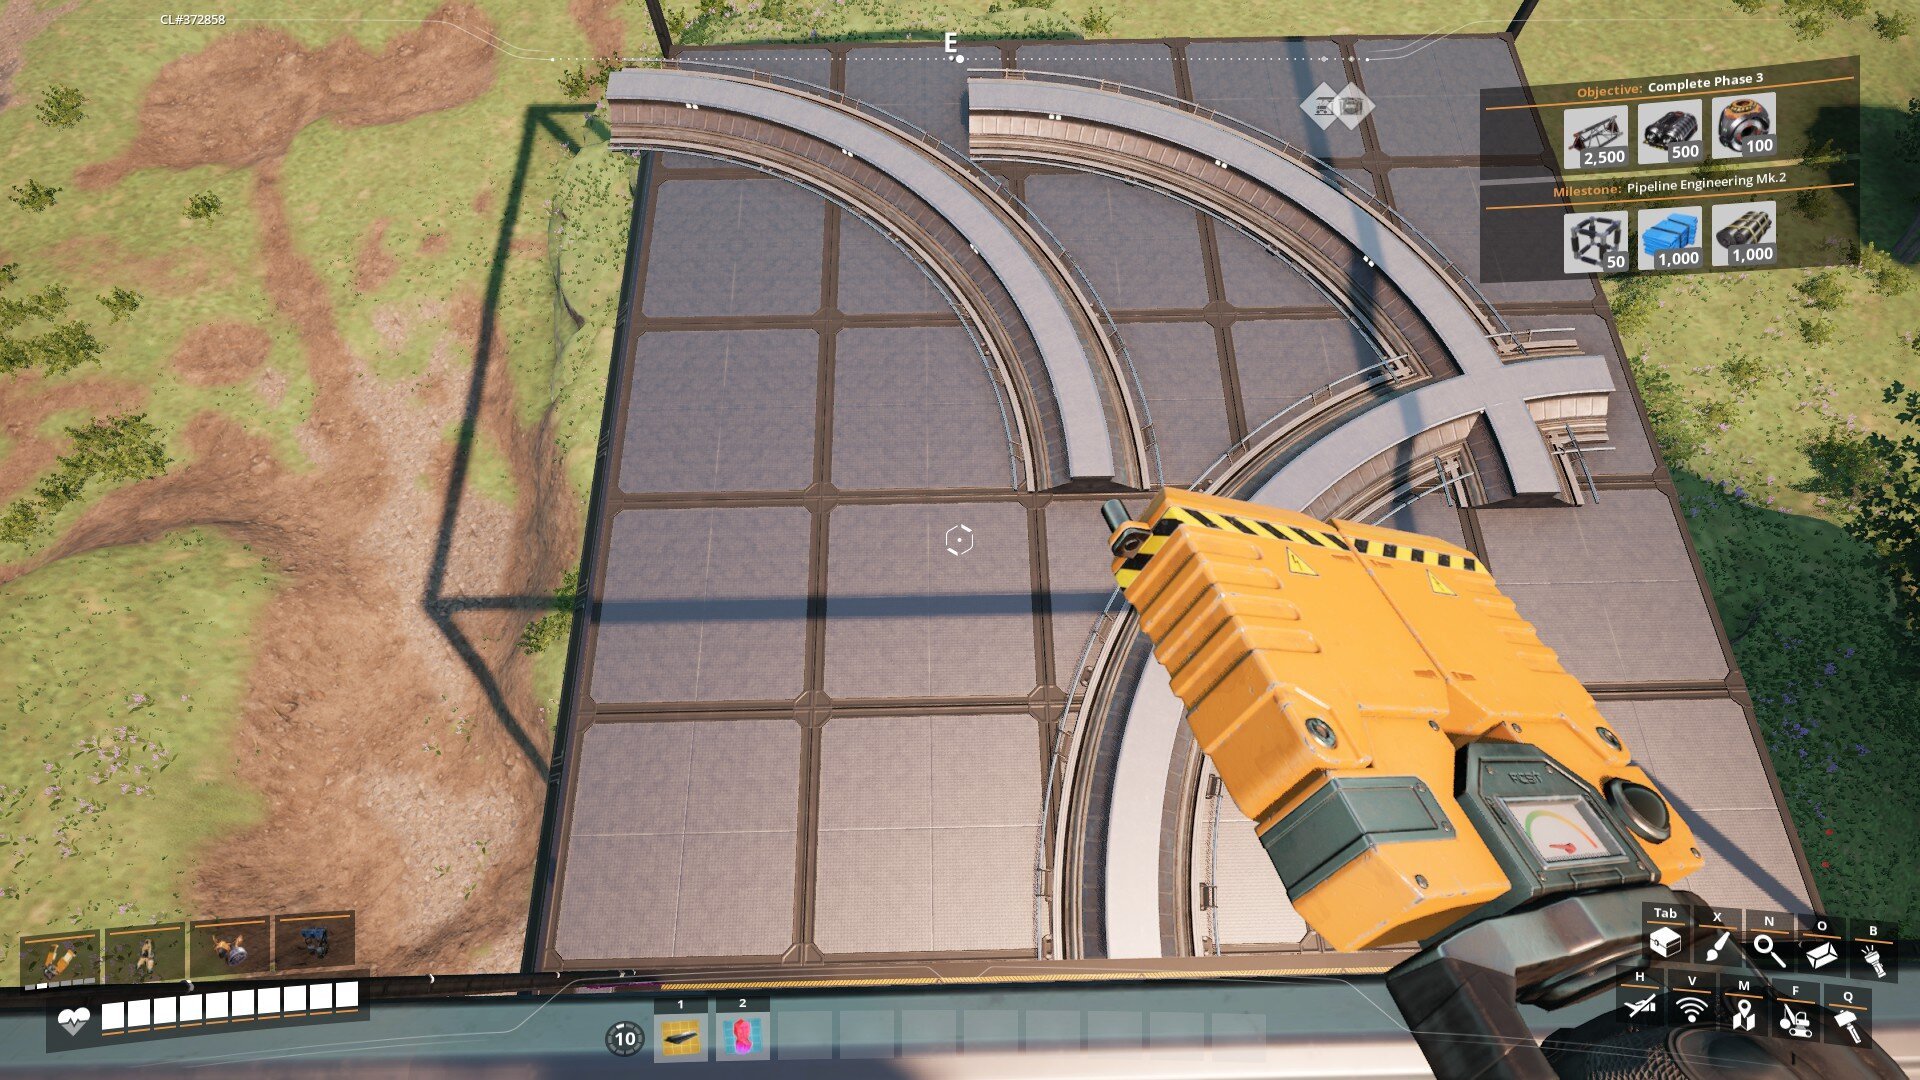
I'm just starting to design my first rail system(LHD), and I've encountered some issues while trying to design an intersection.

First, I couldn't figure out how to make a curve without first attaching to an existing rail which is problematic since nothing in the BP designer can connect with anything outside of it. I got around that by making a BP of just a single curve (after deleting the connecting piece).

The bug where the designer's bounding box doesn't visually match was easy to work around once I figured out what was happening. Hopefully the finished blueprint isn't cut off.

Apparently signals can't be placed on the ends of tracks. Being unable to attach more rails to these curves inside of the designer means that I have nowhere that the game will allow me to place signals.

Is there a way to make a more complete BP for intersections, or will they be mostly manual each time?

Edit: realized after I posted that the left and bottom curves are going to the wrong side. Glad I noticed before trying to use it.

view more: next ›