Retroid

4 readers
1 users here now

Unofficial home for Retroid device owners & enthusiasts.

founded 1 year ago
1


Kei’s Retro Gaming
Here are the top 5 bugs I've seen popping up in the Retroid community and how to fix them. From bootlooping, touchscreen issues, battery drain, problems powe...

2


The Retroid Pocket 2s is the newest from Retroid, and it is not your typical retro handheld. In lots of ways, but the main way it’s different is that it look...

3


Well only finished the story with sun zero, not with all 30+ characters, but I got the credits rolling so that counts in my book!

(Mortal Kombat Trilogy on PS1)

4


I've been eagerly awaiting the release of the Retroid Pocket 2S as a true Retroid emulation device. Does this handheld live up to the hype? Should you grab t...

5


Need some help setting up the RP3+. Since i aim to use Daijinhso, are there any better options on having emulators for the Nes till Snes and Genesis games other than having retroarch installed ?

Having SD card as portable storage, do i need to reconfigure the paths in retroarch every time i pull out the sdcard for file transfering. because it gets a different name every time ? Bonus - how do you copy stuff over, using linux ?

#retroid

6


Anyone who has either of these? I could use some advice. I've never owned anything like this before mostly wanting to play psp and the occasional ps2 rpg or gc zelda if I can I honestly don't know the capabilities of what I can and can't play

7


Thanks to its powerful chipset, excellent controls, and competitive price, the new Retroid Pocket 2S takes the crown as the best retro Android-based handheld...

8
9


After many weeks of effort between a group of developers and testers, we are proud to announce the release of NetherSX2, a modification for AetherSX2 on android.

Removing advertisements, Reimplementing frontend support, Removing PS3 derived bios checks, and supporting custom application names, this modification is designed to streamline and improve your PS2 Emulation experience on the go.

Build yourself with a simple one line patcher, and organize your games, your way, today.

10
1
RP2S Compatibility Sheet (docs.google.com)
submitted 1 year ago* (last edited 1 year ago) by Eggyhead@kbin.social to c/retroid@kbin.social


Good news, everyone! The RP2S community compatibility list has been established. The link as been added to the useful links thread pinned in this magazine.

(It will need time to propagate since not many devices are out yet as of this post.)

11
12


Thanks to the retro gaming community, especially Russ from Retro Games Corp for loads of helpful videos and guides. Love this device, many more games to come.

13


Title

14
15


👉Stubbs, @retrotechdad, Zu, Aish, Chris Covers from Retroid, and @JoeysRetroHandhelds share the latest RP2S news, answer audience questions, and dive deep i...

16


It’s basically the perfect response to every criticism I had on the 2+ when I got it, but I’m still happy with my 3+ and would rather put up with black bars on 4:3 content than have PSP games too small to read comfortably.

17


Specifications

CPU - 2 x A75 1.8GHz + 6 x A55 1.8GHz
GPU - Mali G52MC2 614MHz
RAM - 3GB/4GB LPDDR4x@1600Mhz
Storage - 32GB/128GB eMMC
Screen - 3.5" Touch Screen
WiFi - 2.4G/5G 802.11 b/g/n/ac
Bluetooth - BT5.0
Interface - HDMI
OS - Android 11
Battery - 4000mAh
Size - 155 x 80.6 x 28mm
Weight - 200g


Impressions

I'm really glad to see that Retroid hasn't given up on the 2's design. It's one of the best in my opinion, and the Retro color scheme looks really good.

The 4:3 nature of the the screen means nearly all games that the system is built to run will look really nice on it. There's also the added benefit that players won't be inclined to run widescreen hacks, which can be glitchy and sometimes taxing on the hardware. There will be trouble for PSP, streamed games, or anything that doesn't support anything but 16:9. That content will appear small and likely illegible. As of posting, I'm still unaware of the resolution of the screen. If it is the same as the 2+, it'll be running at the native resolution of most of its retro games, which will look good, but upscaling will a futile effort.

The control sticks appear larger, so should control very nicely. It also appears as if the triggers could be analog as well, which will make Gamecube and Dreamcast emulation more accurate.

Some differences I've found on the spec sheets between the 2s and the Flip:

  • The Flip has its A75 at 2.0GHz while the 2S has its at 1.8GHz
  • The Flip has a Mali G52MC2 @ 850MHz while the 2S has it at 614MHz
  • The Flip has LPDDR4x RAM @ 1866MHz while the 2S lists its @ 1600MHz
  • The Flip has a. 5000mAh battery while the 2S has 4000mAh.
  • The 2S has no mention of nit brightness, fast charging, or speaker information.

Besides that everything else is more or less the same.

It seems like there is some minor downscaling for the 2S in comparison to the Flip, but much of that could be due to a smaller battery for a smaller case. Truth is, you're likely to get 3+ performance out of this little buggar and not know much of a difference because it's got a smaller screen to deal with.

18
1
submitted 1 year ago* (last edited 1 year ago) by rayman30@lemmy.world to c/retroid@kbin.social


Which one will you get? If al all. Too many different Retroid coming to market imho

19


Here is a handy guide for starting a game on one android device and continuing it on another!

1. Download & Install Syncthing

Note: It kind of goes without saying, but it helps if you are logged into the same google account across devices.

  • Download & install Syncthing for free from the Google Play store.
  • Launch it and give all the permissions.
  • Disable battery optimization for Syncthing, as that would interfere with cross-saving.
  • Allow the app to run in the background. It shouldn't have a noticeable impact on battery life.
  • Delete the camera folder if you want to (you don't need it).
  • Enable Auto Launch for Syncthing in the system settings.
  • Disable Battery Manager in the system Settings.
  • Install Syncthing & repeat these steps to any other device you want to cross-save with.

2. Link Your First Two Devices

Device 1: Sharing Device ID

  • In Syncthing on Device 1: Open menu > Show device ID
  • Copy the code put it somewhere you'll be able to get it from on your other device. (You could email it to yourself, drop it into google keep, or whatever floats your boat.)

Device 2: Registering Device 1's ID

  • Find the device ID you sent from Device 1 and copy it.
  • Launch Synchthing, open the DEVICES tab, & tap "Device ID".
  • Paste the code from Device 1, tap Next, name the device, tap next two more times (leave as dynamic library).
  • Tap Add in the top right.

Device 1: Confirm

  • You should have a notification from Syncthing requesting connection from your Device 2. Tap on it, then Add in the top right.

3. Create & Prepare Folders to Sync

Device 2: Creating synced folders for RetroArch

  • On Device 2, under the FOLDERS tab, tap + ADD FOLDER.
  • Folder Label: BIOS
  • Directory: (Navigate to your retroarch bios file) Local Disk > RetroArch > system > USE THIS FOLDER
  • Toggle Device 1 so it will sync.
  • Tap CREATE.

Repeat steps for your RetroArch saves...

    • ADD FOLDER
  • Label: Saves

  • Directory: Local Disk > RetroArch > Saves > USE THIS FOLDER

  • Toggle Device 1 & tap CREATE.

And again for your RetroArch save states...

    • ADD FOLDER
  • Label: States

  • Directory: Local Disk > RetroArch > States > USE THIS FOLDER

  • Toggle Device 1 & tap CREATE.

With regards to RetroArch, you might also consider syncing your RetroArch config files as well if you want to avoid repeating your RetroArch setup process on every new device.

Also, if you wish to sync any other games/emulators/apps that have their own standalone folders, you can add those using the steps above as well. HOWEVER, if the app you are wanting to sync stores its data in the device's Android folder, Syncthing unfortunately won't be able to access it. :( sorry. You can also make a general transfer folder for miscellaneous items if you wish.

4. Link Directories on your Other Device

Device 1: Linking Directories

  • Open the notification panel to see all the folders that are looking to connect.
  • Tap on the BIOS folder notification. It'll open the ADD FOLDER menu in Syncthing.
  • Tap on Directory and navigate to Device 1's RetroArch Bios folder to link them. (Local Disk > RetroArch > system > USE THIS FOLDER)
  • Tap CREATE
  • Repeat this process for the rest of the folders in the notification panel to ensure they are able to sync.

NOTE: You might need to "expand" the notifications in order to interact with or even read some of them.

Cross-Saving

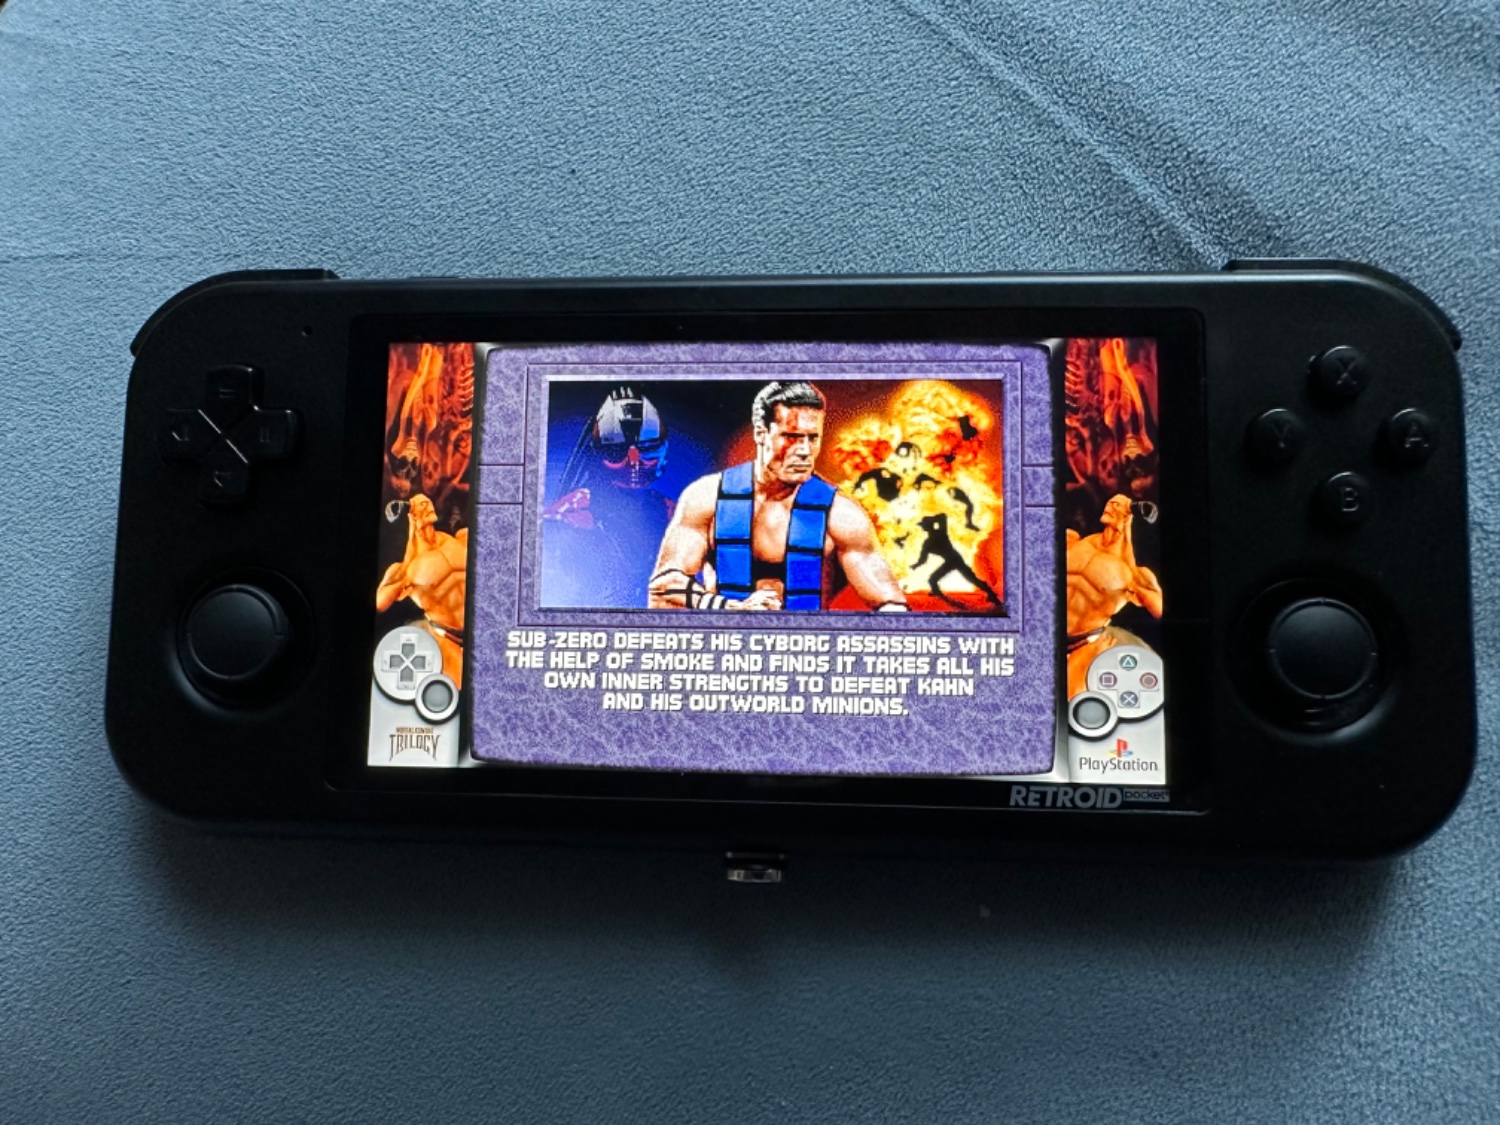
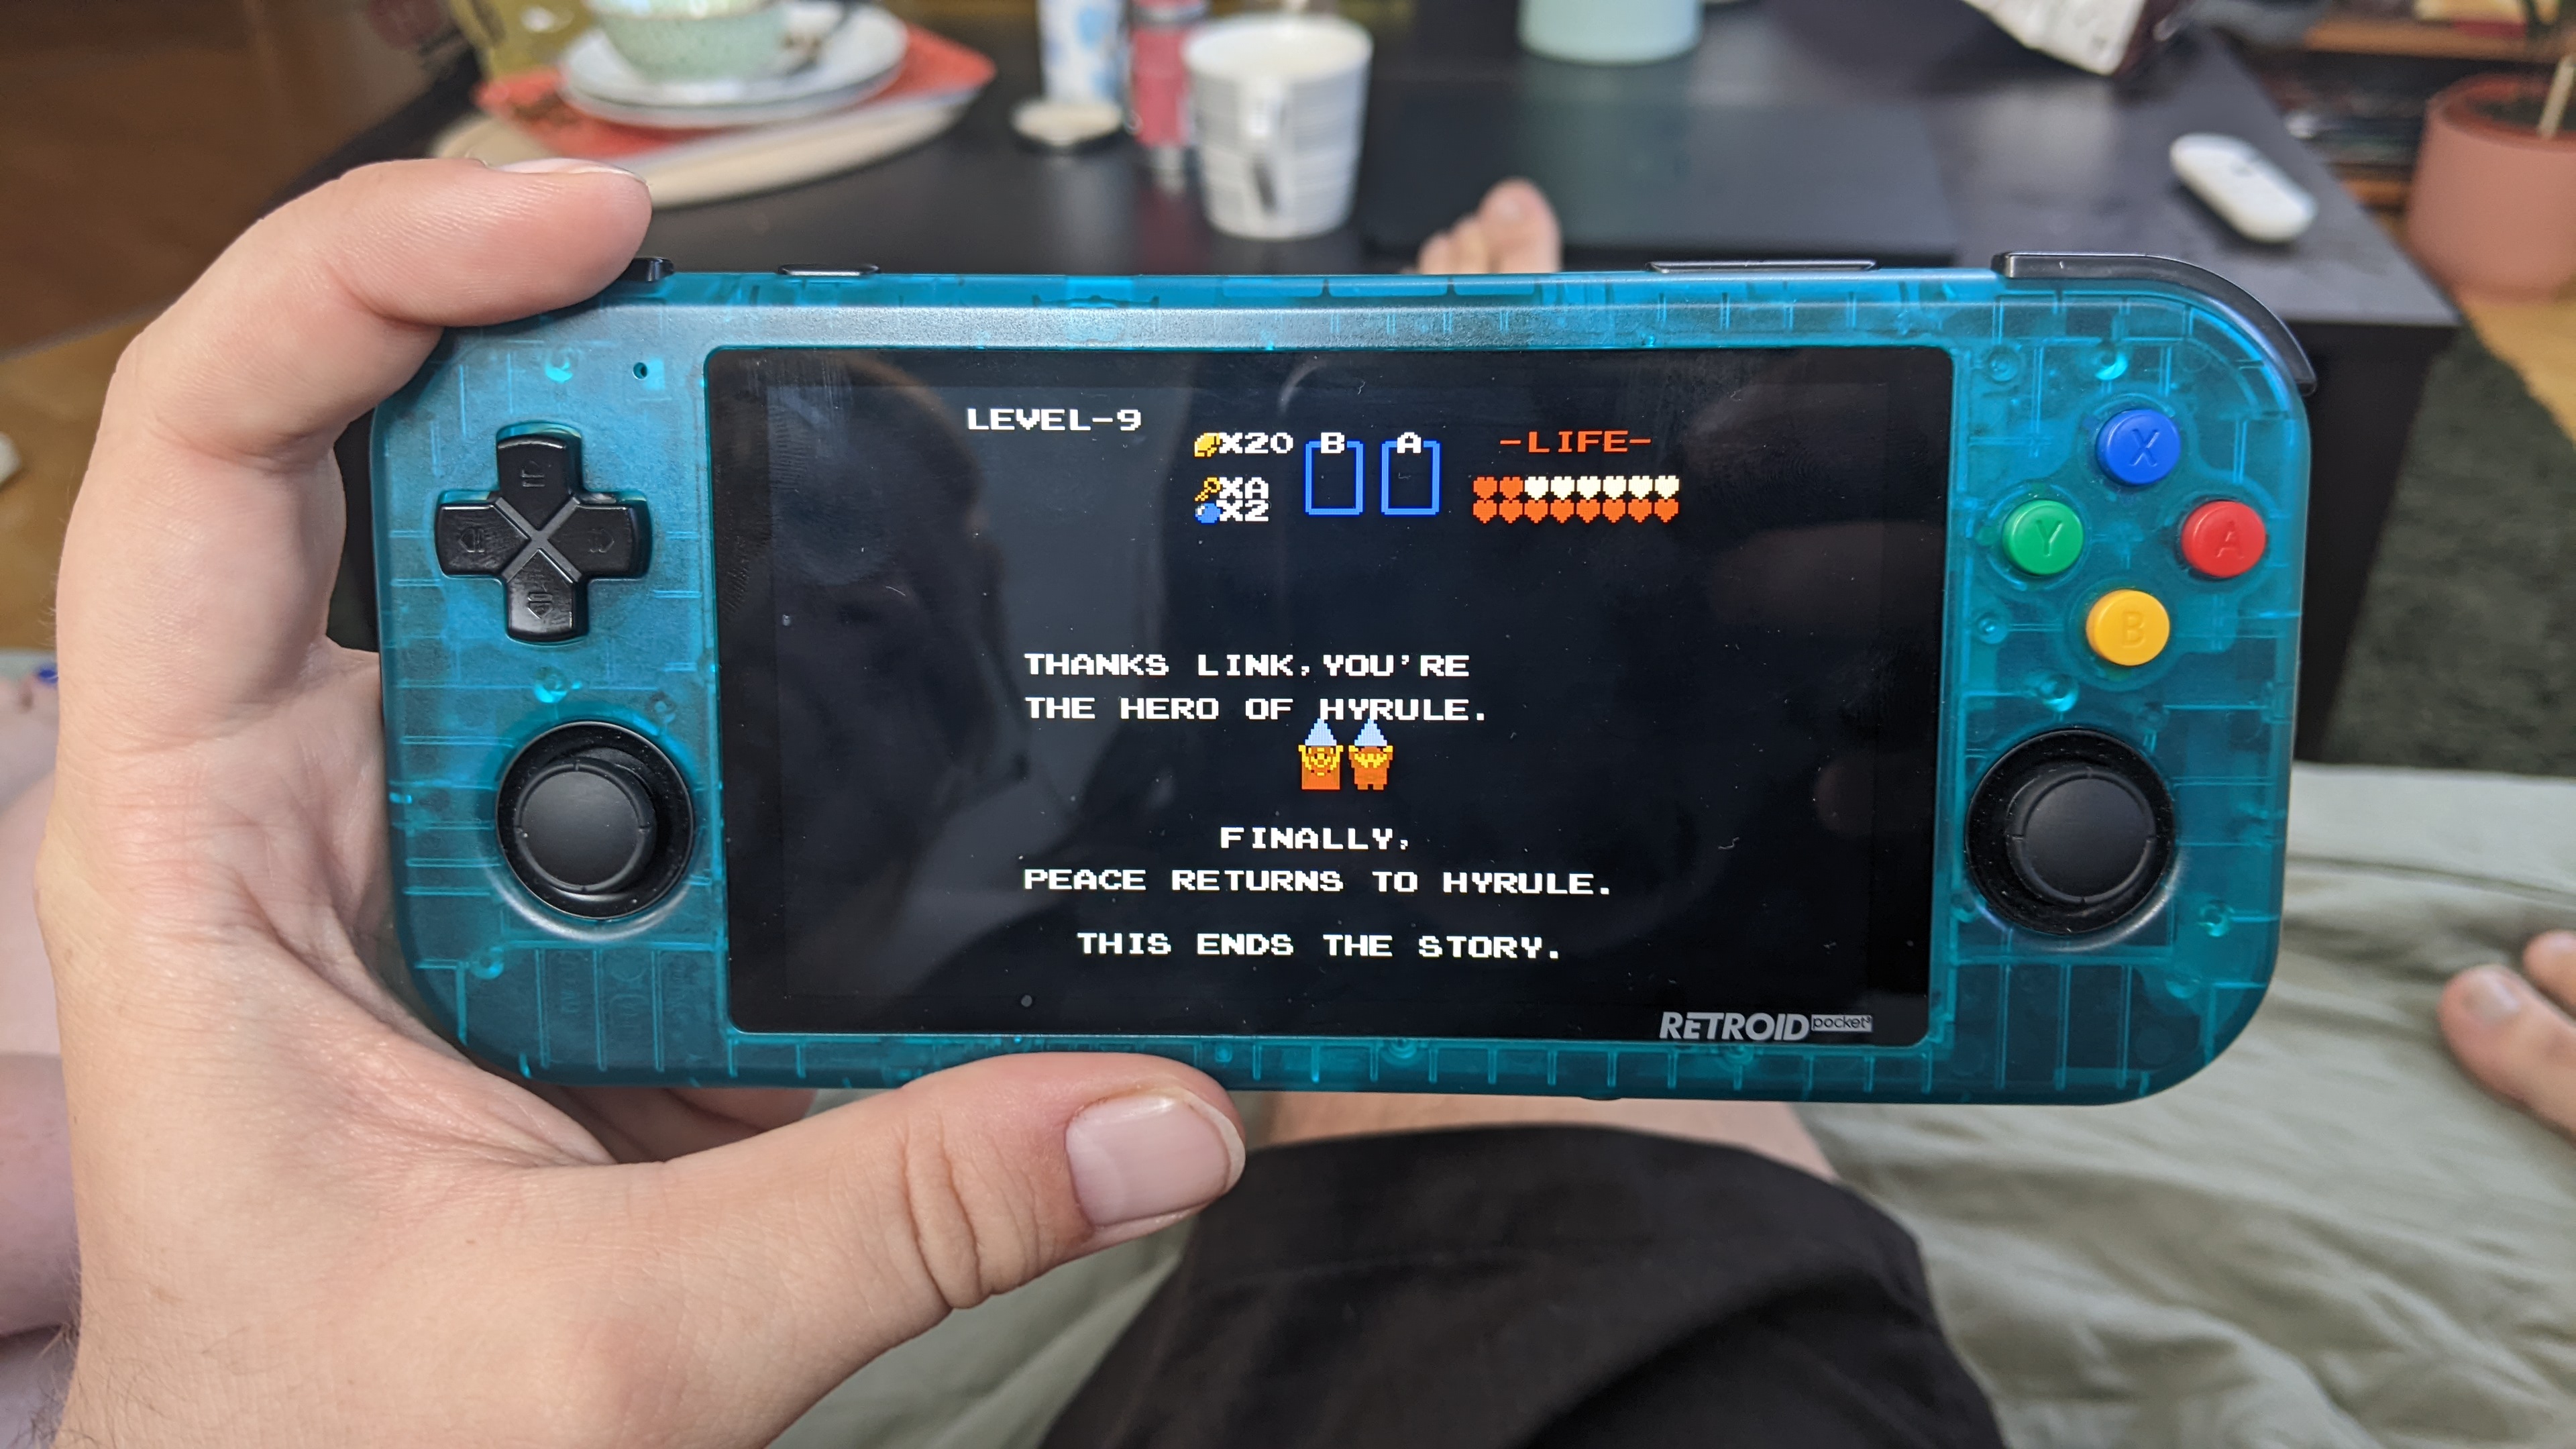
It's worth noting that with RetroArch, your save may not transfer to other devices unless you first close RetroArch using its in-app menus.

When you link new devices to the group, all your files/saves will automatically move over. It'll be pretty sweet. I wish I knew about this when I upgraded from the RP2+ to the RP3 the the RP3+.

Anyhoo. Hope this helps someone out there, and good luck!


Video Tutorial

  • Kei's Retro Gaming
    This is not my channel, but it is how I learned about this process and what inspired me to do the write up. If video tutorials are more your thing, go check this guy out.
20


People are saying it looks like a RP2+ body, with maybe better internals?

21
22


Why increase saturation?

The Retroid Pocket 3/3+/Flip benefits from an already very good LCD screen, and boosting the saturation can surprisingly make it much appear much more like an OLED screen.

NOTE: Boosting the saturation too high can actually make some things more difficult to discern, such as light shading or subtle textures. Fortunately the process is reversible and you can tweak and test until you find a level that you're happy with. In the Retro Game Corps video, Russ mentions that pushing all the way up to 160% makes it most OLED-like, but I personally found I was much happier around the 120-130% range. Just enough to pop without losing too many subtle details.

Tutorial

Setup

  • Download these script files and add them to the Downloads folder of your device.

Backup your default saturation levels
This is so you can easily revert any changes you make if you don't like how things turn out.

  • Go to Settings > Handheld settings > Advanced > Run script as root.
  • Select "getDefaultSaturationValue.sh" and run.
  • Verify that the file was made by checking in your Downloads folder for a file called "DefaultSaturation.txt".

Change your saturation level

  • Go to Settings > Handheld settings > Advanced > Run script as root.
  • Choose the .sh file that you wish to try out and run it
  • Reboot your device to apply the changes.

Making a custom saturation level

  • Duplicate one of the .sh files and open to modify it.
  • Change the number at the end to reflect what value you want to try (such as changing 1.7 to 1.3).
  • Change the name of the file to reflect that value. (setSaturation_1.3.sh)
  • Run the script same as above.

There you go. It's a very fast and simple process, and a nice way to give your Retroid device a little pizzazz if you want.

Youtube Tutorials

Retro Game Corps
Kei's Retro Gaming

23


Every now and then I find that anything I need to touch that's close to the edge of the screen won't register the touch - for example, to get to the retorarch menu by hitting the little icon. If I reboot the option often goes away.

I assume it's something to do with gestures?

Anyway - does anyone else have this problem and is there a workaround/solution?

24
1
New magazine logo! (kbin.social)
submitted 1 year ago* (last edited 1 year ago) by Eggyhead@kbin.social to c/retroid@kbin.social


I slapped together a new logo for the community. I hope it's alright.

Shoutout to @minnieo for designing a cute mascot, Kibby, for kbin & providing the files!

25


Announcement from Retroid David on the discord:

New OTA for RP3+ is active now!
New OTA for Flip will be dropped tomorrow evening.

=============================================================
RP3+ OTA V1.0.1.6 change log:

  1. Updated the PMU driver to enhance system performance and stability.
  2. Added support for the new gyro driver to accommodate component tolerance adjustments.

=============================================================
Flip OTA change log:

  1. Fixed battery charging curve where the battery drains too quickly after 20% capacity.
  2. Added default standby time setting to be 3 minutes/5 minutes/15 minutes when device is closed.
  3. Synced the feature of new performance modes support for Pocket 3+ (Balance/Performance/Extreme).
  4. Updated Hall joystick driver to improve functionality and performance.
  5. Added support for mapping M1 as the Home button and M2 as the Back button for Android navigation.
  6. Updated the PMU driver to enhance system performance and stability.
  7. Added support for the new gyro driver to accommodate component tolerance adjustments.

Happy gaming!
Team Retroid

view more: next ›